Gain access to personalized product screening, the best pricing, rewards, and more!
Create An Account, Or Sign In.
Most Effective Products
Roof Rat Control: How To Get Rid of Roof Rats
This page is a general roof rat control guide. Using the products and methods suggested, you will get control of roof rats. Follow this guide and use the recommended products, and we guarantee 100% control over roof rats.
Roof rats, also known as the black rat, ship rat, tree rat, house rat, climbing rat, white-bellied rat, Old English rat, Alexandrite rat, citrus rat, or gray rat, are infestations that can happen to homes and businesses. These rats are notorious climbers adept at climbing walls and trees to enter structures, hence their name.
Although they are not aggressive, these rodents, much like other species, pose several health risks to people. Their waste contains diseases and spreads parasites, so they are well-known for spreading the bubonic plague during the Middle Ages.
They also carry fleas and ticks, which can be transferred to humans and pets. Their chewing habits can wreak havoc on wiring, which could lead to house fires. Refer to our DIY guide for eliminating and preventing roof rat infestations for the standard homeowner.
Identification
Identification is the first step in control. Before treating it, you need to ensure you're dealing with roof rats. Below, we'll describe some common traits that set roof rats apart from other rodents.
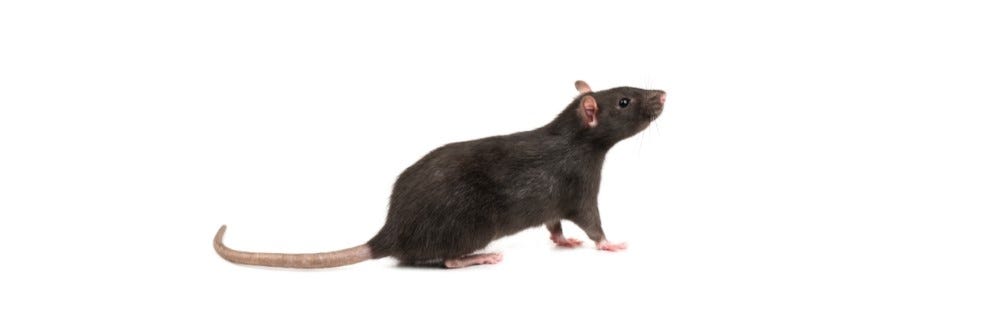
- Roof rats are smaller than Norway rats. They are about 6 to 8 inches long, including a 7 to 10-inch tail. Their tails are hairless, scaly, and longer than their bodies.
- They have sleek bodies with black fur and a lighter underside. Their fur color may also range from gray to brown and be intermixed with these colors.
- Roof rats also have pointed noses, unlike Norway rats with blunted noses.
- Compared to roof rats, Norway rats have bulkier bodies with greyish-brown or reddish-brown fur. The average adult Norway rat’s body is seven to nine point five inches long, with a tail six to eight inches long. Their tails are shorter than their bodies. You can also compare their eyes and ears; roof rats have larger eyes and ears than Norway rats relative to their head sizes.
Use the image and description above to confirm that you are dealing with a roof rat in and around your home. If unsure, contact us by email, phone, or in person at one of our store locations with a photo of the pest and signs of activity.
Inspection
Inspection is the second step in control. Before applying the treatment, you need to know the areas where roof rats infest your home. During the inspection, you will focus on finding these problem areas where roof rat activity occurs and where you will need to apply treatment.

Where To Inspect
Roof rats prefer to nest in more elevated areas, such as trees, shrubs, dense vegetation, woodpiles, power lines, fences, drop ceilings, attics, soffits, roofs, and the rafters of barns, garages, and other spaces.
If you find roof rats indoors, they may nest in warm parts of your home, like in laundry rooms, behind walls, cabinets, false ceilings, and other elevated spaces at least 4 feet above the ground.
At night, they can be seen traveling along power lines, tree limbs, fences, or downspouts.
What To Look For
One sure way to tell if you have roof rats is to see the rodent itself. However, they are primarily nocturnal, so you may not see them.
Other common signs to find roof rats are explained below:
Droppings: Roof rat droppings are approximately 1/2 inch long with a pointed end.
Odors: The odor from their urine emits a strong, ammonia-like odor.
Gnaw marks: They can gnaw on electrical wiring, plastic, wood structures, water lines, insulation, shingles, eaves, and plants. If you have fruit trees, the pits may be removed.
Sounds: Noises will mainly happen at night, such as gnawing, clawing, scratching, or squeaking.
Rub marks: Look for smear marks against walls, rafters, and other vertical surfaces. Roof rats have poor vision and are colorblind, so they often move against vertical surfaces when traveling from place to place. Their oily fur rubs off on these surfaces, creating dark marks over time.
They will also take insulation, leaves, and other scrap material for nests. You may see tunneling or burrows within the insulation itself.
When inspecting outdoors, if you find burrows at ground level, that’s a sure sign of Norway rats, which will require a different approach to treatment.
Treatment
Once you have confirmed roof rat activity, it is time to begin treatment. Remember to read all product labels, follow the application instructions on these labels, and stay safe by wearing personal protective equipment (PPE).
If you notice roof rats, control should begin both indoors and outdoors. Sanitization, exclusion, trapping, and baiting can reduce roof rat populations.
Step 1: Sanitization
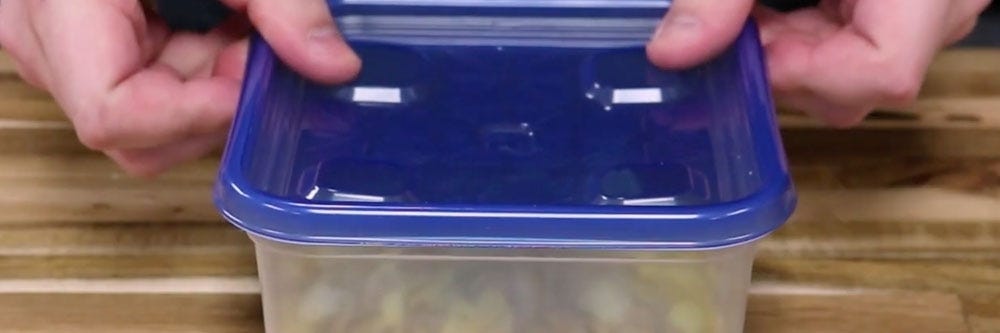
The first key to controlling roof rats is to limit their food sources. Roof rats don’t travel far from their nests when foraging. Loose foods in your home should be sealed within airtight containers.
Roof rats are omnivores that prefer fruits, berries, grease, nuts, seeds, insects, livestock feed, pet food, birdseed, meat, and other plants.
This can be done by sealing loose food items in your home within a sealable, airtight plastic container.
Be sure to regularly clean in and around your home to remove any food residue off surfaces and uneaten pet food.
Prune outdoor plants to help limit debris that roof rats may feast upon or use for nests.
Gather fruits, berries, and vegetables when they are ready to harvest. Any fallen plant fruits and vegetables should be promptly gathered.
Step 2: Block Entry Ways
Next, block off any entryways roof rats can use to access your home. Roof rats can readily travel through any opening at least half an inch in diameter.
Start with sealing holes, crevices, cracks, and other openings in your home, then move outdoors.
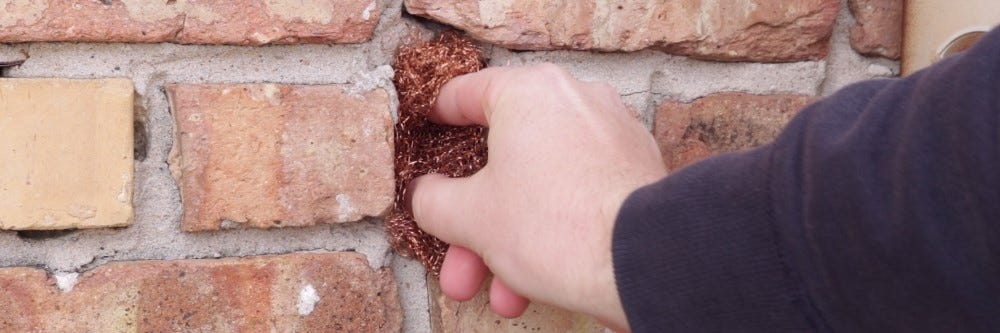
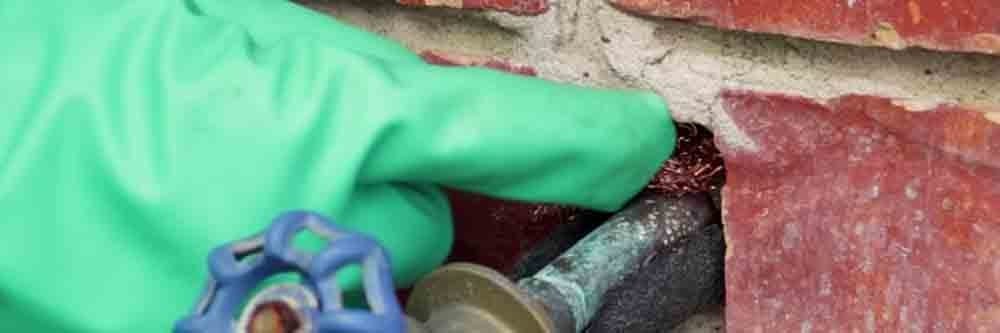
We recommend you fill openings with Stuffit Copper Mesh. Copper mesh lasts longer than steel, won’t rust, and rats are sensitive to its taste and smell.
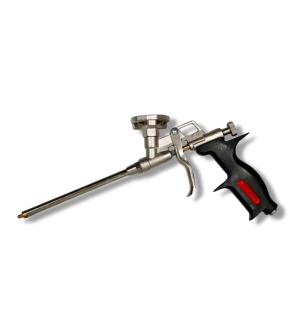
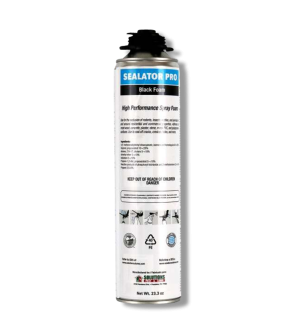
Tighter cracks and crevices should be sealed with an expanding foam like Sealator Pro.
Gaps in paneling, chimneys, fireplaces, or roof vents should be replaced or proper screening installed.
Step 3: Outdoor Bait Treatment

Once you have blocked off entryways, set up tamper-proof rat and mouse bait stations.
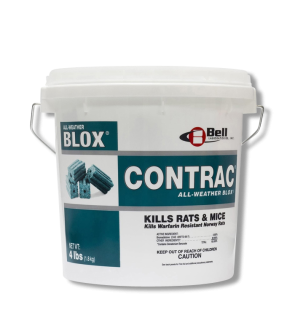
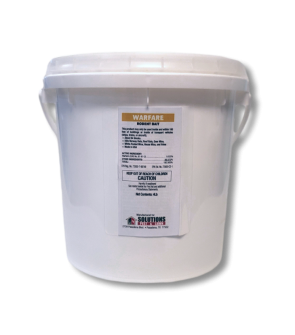
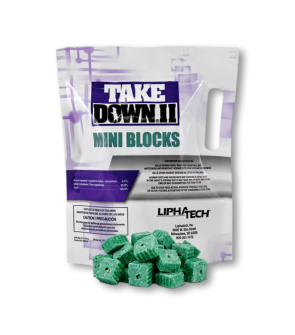
Since most roof rats invade from the outside, you will begin baiting here. We recommend these two products: the Solutions Rodent Bait Stations and the Warfare Rodent Bait.
When roof rats forage for food at night, they come out from their nests and travel on the ground, so stations should be set at the bases of trees or along the foundations of buildings where nesting has been found.
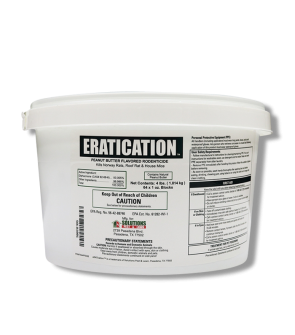
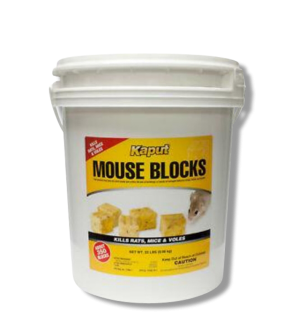
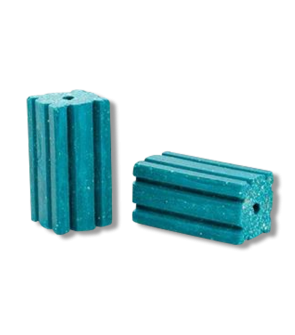
Warfare Rodent Bait is a rodenticide that mimics food but is poison. Due to its unique bait matrix, roof rats feed on the bait repeatedly until they ingest a lethal dose.
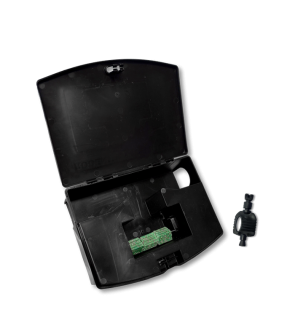
The Solutions Rat and Mouse Bait Stations will protect your bait blocks from the weather and prevent pets and non-targeted wildlife from infesting the bait.
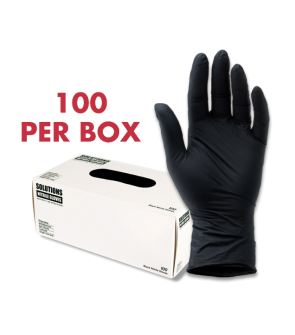
Before handling any of these products, wear gloves to reduce the chances of leaving your scent on the product, which may drive away roof rats.
To use, open the bait stations with the key that comes with the product.
You will then place 4 to 16 Warfare Rodent Bait Blocks on the metal rods inside the bait station and close the station. Then, you will set the bait stations close to areas where you have noticed roof rat activity.
For the best control, set six stations for homes less than two thousand square feet and twelve stations for homes between two thousand and five thousand square feet.
Place the bait stations no more than forty feet apart.
Check and replenish stations with bait no more than once per day for at least 10 days or until activity halts.
Step 4: Set Traps Indoors
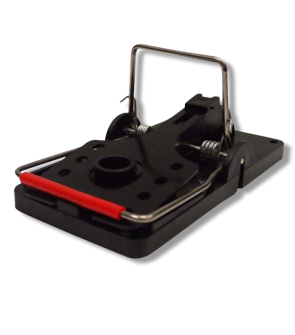
After you’ve set up bait stations outdoors, you can then set traps indoors. We recommend the Solutions Easy Set Rat Trap and the Solutions Pro Rat Glue Board XL.
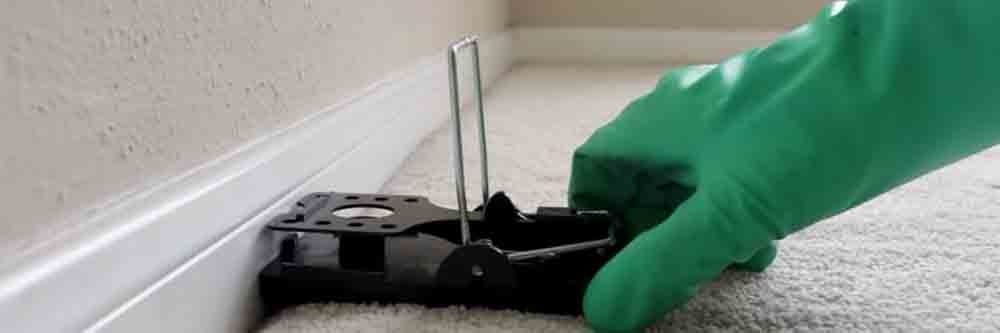
The Solutions Easy Set Rat Trap is a durable plastic snap trap that can control rats, such as the roof rat, both indoors and outdoors. The trap has a unique 90-degree snap arm bar that helps protect the user's fingers during set-up.
To help lure roof rats, peanut butter laced with seeds should be put in the snap trap's bait cup.
We recommend placing snap traps unarmed for at least two days before arming them. Rats are cautious of new objects in their environment, so this will help them grow accustomed to being near the traps.
After a couple of days, arm the traps by pulling the arm bar back until it clicks into place.
Since this rodent likes to stay above the ground, you will have more success placing the snap trap on ledges, tops of exposed cabinets, and any exposed edges along the ceiling.
You will also need to place the Solutions Easy Set Rat Trap along the walls, baseboards, behind objects, and dark corners.
Be sure when setting the snap traps that the trigger is facing the wall.
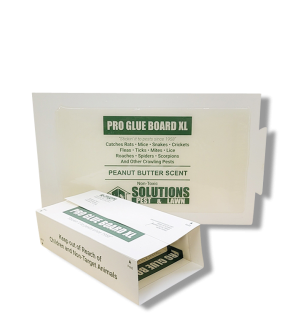
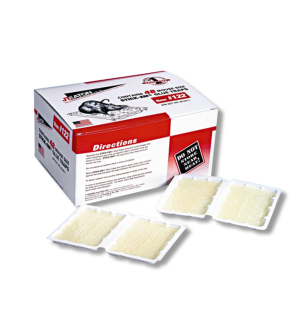
For other areas that are difficult to reach with standard snap traps, we suggest using the Solutions Pro Rat Glue Board XL.
The Solutions Pro Rat Glue Board XL is a powerful adhesive trap that can be used indoors and outdoors against roof rats.
Position the Solutions Pro Rat Glue Board XL along active roof rat runways, such as walls, under appliances, pantries and cabinets, ledges, and other elevated areas where snap traps may not easily fit, like the dark, tight corners of an attic.
Look for gnaw marks, grease marks, and nesting activity to determine the best spots.
Be sure the glue boards are set flat and out of reach of children and pets.
To use, simply place the Solutions Pro Rat Glue Board XL flat or folded into a tent-like tunnel in more dusty areas.
Check the glue traps daily and properly dispose of any trapped roof rats. Continue leaving out this product until the roof rat activity has ceased.
Prevention
Once you have eliminated roof rats from your property, you will want to ensure they do not return. With the following preventative methods, you can ensure roof rats do not come back to your home:
- Start by trimming and cutting tree branches that touch your roof. These branches are ideal passageways for roof rats to get access to your property and are often the reason you're facing an infestation. Also, cut down ground cover, vines, or vegetation that touches the foundation of your structure. This vegetation often offers them a foothold on the walls of your property, and they may use it to climb to the roof.
- Seal and close off any cracks, crevices, openings, slits, or holes found on the foundation of your structure with Solutions Sealtor Pro and Stuf-Fit Copper Mesh, which will give them access into your home.
- Ensure chimneys and vents have screens and do not provide roof rats access to your property.
- Clean in and around your home regularly. Take out the garbage daily, don’t leave out pet food or water, and sweep or vacuum the floors. Outdoors, get rid of wood piles, rake away leaf litter and debris, and consider getting rid of any bird feeders you may have. These will remove and deny food sources from rats and make your home less conducive to their activity.
- Finally, continue to monitor for roof rat activity by setting up the Solutions Pro Rat Glue Board XL. If you find a trapped rodent indoors, it can be assumed an outdoor infestation has taken place. If so, more traps and bait stations should be established to control activity before it gets bad.
Key Takeaways
What is a Roof Rat?
- Roof rats are a common rodent species that prefer to infest elevated places such as roofs, trees, and attics.
How to Get Rid of Roof Rats
- To get rid of roof rats, seal any openings, gaps, and crevices around your structure with Stuf-Fit Copper-Mesh. Once this is done, you will then use bait such as Warfare Rodent Bait within a tamper-proof station like Solutions Rat and Mouse Bait Station around your home's exterior foundation. Indoors, you will use trapping techniques with the Solutions Pro Rat Glue Board XL and the Solutions Easy Set Rat Trap.
Preventing Roof Rat Reinfestation
- Prevent roof rats from returning with ongoing repairs to cracks, crevices, and gaps with caulk. You will need to fill larger voids with Stuf-Fit Copper Mesh or Solutions Sealator Pro. You will also need to prune any overgrown tree and shrub branches to limit travel pathways for roof rats. We suggest setting out the Solutions Pro Rat Glue Board XL to monitor future roof rat activity.