
Gain access to personalized product screening, the best pricing, rewards, and more!
Create An Account, Or Sign In.
Most Effective Products
How to Do A Jar Test Before Tank Mixing Pesticides
This page is a general DIY guide on how to mix different pesticides, herbicides, fungicides, insecticides, and other chemical products together during a jar test. Following along with the suggested information can help avoid costly mistakes and improve accuracy in tank mixing.
Mixing several different chemicals together into your spray tank may sound ideal for that troublesome pest or weed infestation you keep facing. However, there is a right and wrong combination to certain pesticide formulations that cannot all be listed, which is where a jar test comes into play.
Checking product compatibility with a jar test can prevent the loss of pesticide products and lost time to larger application treatments. When done appropriately, a tank mixing with different products can help a pest control operator or a do-it-yourselfer address multiple infestations at once or the prevention of pesticide resistance in pests.
The following article explains important considerations, procedures, and some helpful information when performing jar testing for pesticide applications.
What is a Jar Test
A jar test is a small-scale compatibility test used to determine whether different pesticides, fertilizers, and other additional products like surfactants or additives can be safely mixed together.
This is often done before adding products together in a spray tank or other application tool.
By doing a jar test, you can avoid potential clogging in sprayers, reduced effectiveness of pesticide combinations, or potential damage to the treatment area.
Performing a jar test before large-scale mixing ensures a stable, effective pesticide solution, preventing costly application failures or equipment damage.
Can You Skip a Jar Test?
Skipping a jar test can be risky, as it may lead to pesticide incompatibility, clogged sprayers, reduced effectiveness, or crop damage.
While some tank mixes are labeled as compatible, factors like water pH, hardness, and formulation differences can still cause unexpected reactions. Without testing, you risk clumping, separation, or chemical breakdown, leading to uneven application and wasted product.
A quick jar test ensures the product mixture is stable before full-scale spraying.
Unless you are using a product by itself with no other tank mixtures it's always best to perform a jar test to avoid costly mistakes, equipment damage, and ineffective pest or weed control.
Tools Needed
By using these tools, you can safely and effectively test pesticide compatibility, ensuring a smooth and efficient application.
Clean glass or plastic jar with lid
- A transparent container allows you to observe changes like separation, clumping, or sedimentation.
Measuring Tools
- Syringes, pipette, chemical measuring cup, or graduated cylinders: For accurate measurement of liquid pesticides.
- Small scale: For measuring dry pesticides such as powdered or granular products. We recommend using this when you have to measure by weight for dry pesticides.
Stirring (mixing) Tool
- A clean stir stick, glass rod, or chemical stirring spoon to mix the ingredients.
Clean Water Source
- Use the same water type (e.g., well, tap, or soft water) you plan to use in your sprayer.
Personal Protective Equipment (PPE)
- Gloves: Chemical-resistant gloves to prevent skin contact.
- Goggles: Eye protection during the process.
- Mask: Facial protection that will cover your mouth and nose.
- Safety Glasses: Protective eyewear that will completely cover your eyes, eye sockets, and the area around your eyes.
- Appropriate clothing: Disposable or washable clothing such as long-sleeved shirts, long-sleeved pants, tyvek suit, closed-toe shoes with socks, coveralls, and other clothing that the label may require.
- And any other personal items that the label requires.
Notebook and Pen/Pencil
- To record observations like foaming, precipitation, or changes in color.
Timer
- To track the time it takes for the mixture to react, settle, or stabilize. Some pesticide labels may also state that you must mix or wait so long to see reactions with the pesticide and the material it is being mixed with.
Types of Pesticide Incompatibility
When mixing pesticides, it's essential to ensure that the products are compatible with each other. Pesticide incompatibility can occur in different ways, leading to physical or chemical issues in the spray solution.
Understanding the types of pesticide incompatibility helps applicators prevent mixing errors, protect crops, and ensure effective pest control.
Physical Incompatibility - in pesticides, this refers to the process of different products mixing together without causing clumping, separation, sedimentation, or thickening.
What causes it?
- Improper Mixing Order - Adding pesticides in the wrong order can cause precipitation or separation.
- Incorrect Water pH or Hardness - Some pesticides need a specific pH range to remain stable. Hard water minerals can cause binding and precipitation.
- Inadequate Agitation - Failure to stir or shake properly can lead to uneven dispersion of ingredients.
- Incompatible Formulations - Some formulations, like wettable powders (WP) and emulsifiable concentrates, may not mix well without an additional adjuvant.
Signs of physical incompatibility:
- Layering or oil separation - Indicates that the emulsifier is not working properly.
- Clumping or gel-like texture - Often seen when powders do not dissolve.
- Sedimentation - Solids settle at the bottom instead of staying suspended.
- Foaming or excessive bubbles - Some surfactants or adjuvants can cause excessive foaming when mixed improperly.
Chemical Incompatibility - in pesticides, this refers to when two or more pesticides cause an unwanted chemical reaction.
What causes it?
- Reactions between active ingredients - Some pesticides degrade when mixed, rendering them ineffective.
- pH Sensitivity - Certain pesticides degrade in alkaline (high pH) or acidic (low pH) conditions.
- Formation of New Compounds - Some mixtures create phytotoxic (plant-damaging) chemicals that can injure crops.
- Oxidation or Reduction Reactions - Exposure to oxygen, metals, or certain chemicals may degrade pesticides.
Signs of chemical incompatibility:
- Loss of pesticide effectiveness - Poor pest or weed control after application.
- Color changes - Some pesticides change color when chemically degraded.
- Heat generation - A sign of a chemical reaction in the mixture.
- Formation of precipitates - May appear as crystals, sludge, gel, separation, or bubbles.
Understanding the types of pesticide incompatibility helps prevent application failures, protects plants, reduces sprayer maintenance issues, and ensures maximum pest or weed control effectiveness.
How to Test Pesticide Mixes
Step 1: Read all Labels
 When performing a jar test, you will need to read and follow the labels of each pesticide you plan on using.
The label is the law and will state what chemicals can or cannot be used with it as well as any other restrictions.
Learning the proper mixing orders of pesticides, compatible or incompatible product combinations, and specific application rates for chemicals is also crucial information you can find on the label.
If you find that the treatment area or pest you wish to treat is not listed on the pesticide label, then applications are not recommended.
Step 2: Shake Liquid Products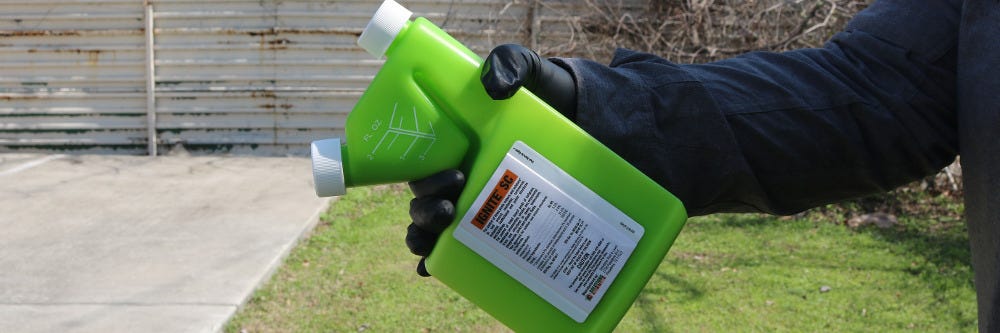
Any liquid chemical products you plan on using should be thoroughly shaken before pouring out of the product container.
Shaking a liquid pesticide ensures the active ingredients are evenly mixed, preventing separation and uneven application. This is especially important for suspensions, emulsions, and biological formulations, as settling can reduce effectiveness.
Step 3: Add Water or Carrier

Before adding any pesticides to the mixing container or jar, you must first fill it with 1/3 to 1/2 full with water or the intended carrier. This ensures proper dilution and prevents unwanted reactions.
Depending on the pesticide label, the carrier is a liquid or solid substance that helps deliver the active ingredient effectively.
Common carriers include water, oil, talc, air, or granular materials. They aid in dilution, dispersion, and application, ensuring even coverage on target surfaces while enhancing the pesticide’s effectiveness and ease of handling.
During this time, be sure also to check the carrier's pH level. An improper pH can cause chemical degradation, reduced solubility, or incompatibility, leading to clumping, precipitation, or loss of potency.
Many pesticides work best in a slightly acidic to neutral pH range (5.5–7.0), while highly alkaline or acidic carriers can break down active ingredients.
Step 4: Add Products in Mixing Order

When conducting a pesticide jar test, adding products in the correct mixing order is essential to prevent incompatibility issues, such as clumping, precipitation, or separation.
The pesticide formulation type will determine the order in which it is mixed. Knowing this information lets you follow the recommended mixing order for your selected pesticide label.
As an example, look at the image above, which shows the recommended mixing order from the Supreme IT product label.
If you cannot find it on the label, then the general mixing order for most pesticides can be seen below:
Carrier first (water or oil-based solution): if using water buffers or conditioners, add them at this stage.
Wettable Powders and Dry Flowables: These formulations need more time to disperse and suspend properly.
Liquid Flowables and Suspension Concentrates: These require thorough agitation throughout the mixing process to prevent settling and uneven dispersion.
Emulsifiable Concentrates: ECs contain oil-based solvents and must be added after powders and flowable to prevent separation.
Soluble Liquids and Other Solutions: These dissolve completely in water and mix easily.
Surfactants, Oils, and Adjuvants: Add these to the spray tank or tank mixing container last to prevent interference with the pesticide dispersion.
Following this mixing order helps prevent tank mix failures and ensures pesticides work as intended.
Step 5: Stir or Agitate the Entire Mixture

Add each product one at a time, and gently stir or agitate it into the solution between each pesticide being added.
Allow it to fully disperse with the carrier before adding the next pesticide.
Do not add all products together at the same time and then shake them, as this will not provide accurate results.
Step 6: Observe Results
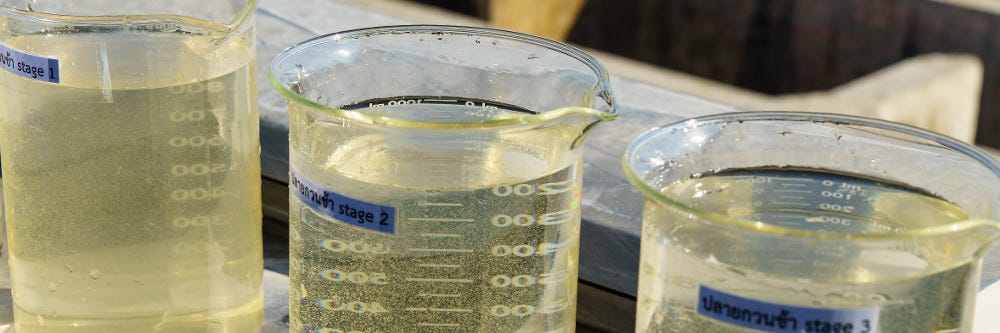
After the final product is added, shake or stir vigorously for a few minutes or however long is stated on the label, then let it sit for 15 to 30 minutes in a ventilated area to observe for clumping, separation, or precipitation.
After mixing, place your hand on the outside of the tank mixing container. If the tank mixing container feels warm, this could be a sign of a chemical reaction which means the products are incompatible and affect pesticide sprayer safety.
If the pesticide materials do not turn into a gel or become thick or grainy, then you can mix these products in a spray tank. Signs of smoothness and no visible clumps or particles are another green flag for tank mixing.
Any signs of clumping, gelling, gritty or thick texture, or visible separation of product materials after mixing means these products cannot be mixed together.
Key Takeaways
What Is The First Step Before Tank Mixing Pesticides?
- The first step is to read the product label thoroughly and ensure there are no restrictions for the pesticides you have chosen to be mixed together.
What Should You Do With Excess Tank Mixture?
- Leftover tank mixture should be applied to a site permitted by the label or taken to a hazardous waste disposal site.
How Long Does A Jar Test Take?
- A standard jar test typically takes 15 to 30 minutes, depending on the products being tested. Some mixtures may need up to 1 hour for full observation. If no clumping, separation, or reactions occur within this time, the mix is likely compatible. Always follow label instructions and allow proper settling time.