Insects in Attics
Most Effective Products
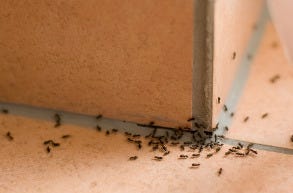
Common Insects in Attics
As it nears winter, you may start to notice strange noises coming from your attic lately. Maybe you have heard buzzing or see signs of pests in your home coming from the attic. Often, attics get overlooked a-lot during pest control since they are hot and hard to navigate through.
While there are some challenges for homeowners to inspecting attics, it is a necessary process to keeping your home pest-free. While most homeowners assume nothing can survive in attics, there are some common culprits that prefer these conditions such as carpenter ants, cluster flies, stink bugs, silverfish, spiders, and wasps.
These pests are attracted to the shelter and food sources your attic provides, even during the summer and winter months.
Not only can these pests keep you up at night, but if left unchecked they can lead to significant damages to wiring, insulation, ductwork, roofing materials, and contact with bacteria. Their damages and activities can potentially lead to fire hazards and health concerns.
What can you do to prevent and control structural damages from pests in attics? You can start by checking out this professional article to learn more about each attic pest. If you are not experiencing a pest listed here then feel free to contact our customer service team by phone or email for professional advice and tips.
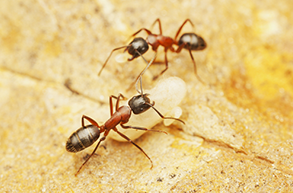
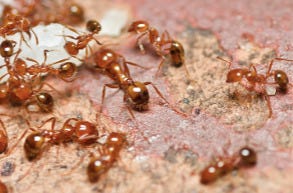
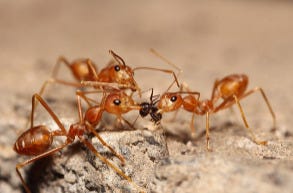
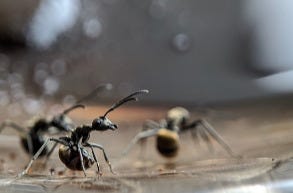
Carpenter Ants
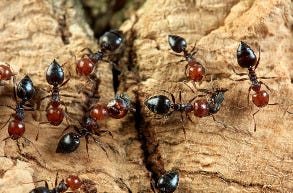
Carpenter ants are one of the most troublesome structural pests in attics. Besides their painful bites, this pest can be present in your attic for long periods of time before they are noticed making them a real nuisance.
Of course, the longer they are in your home the more destruction they can cause to the wood and the larger the colonies become.
Identification

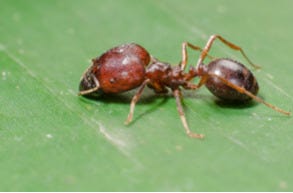
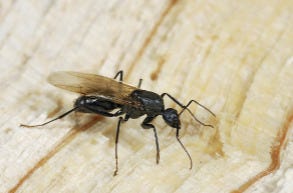
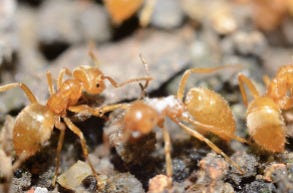
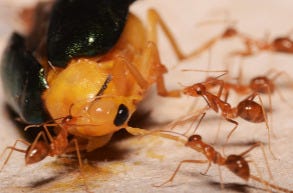
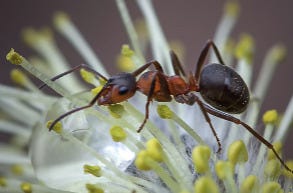
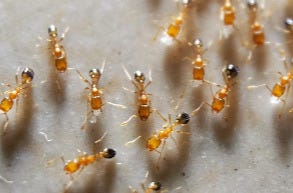
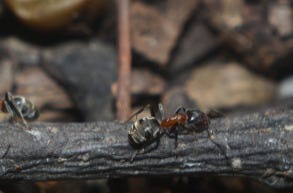
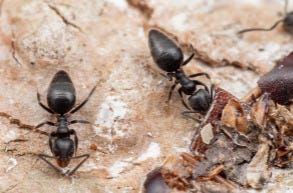
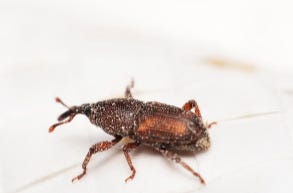
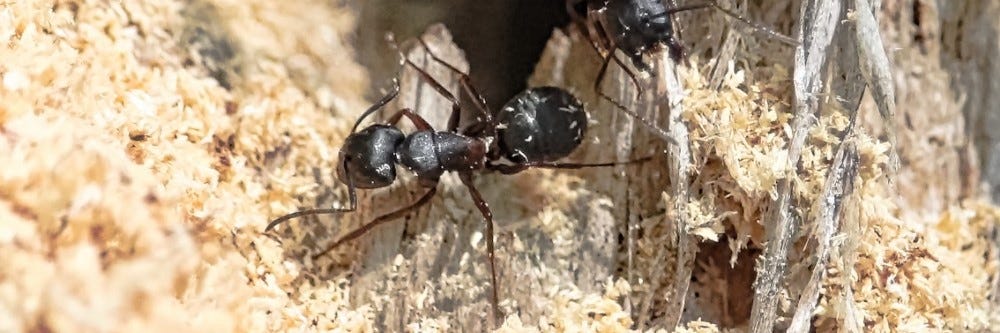
A carpenter ant ranges between black, brown, red, yellow, orange or a combination of black and red depending on the species.
This ant is known as one of the largest ant species measuring between 0.25 to 0.75 inches long.
Inspection
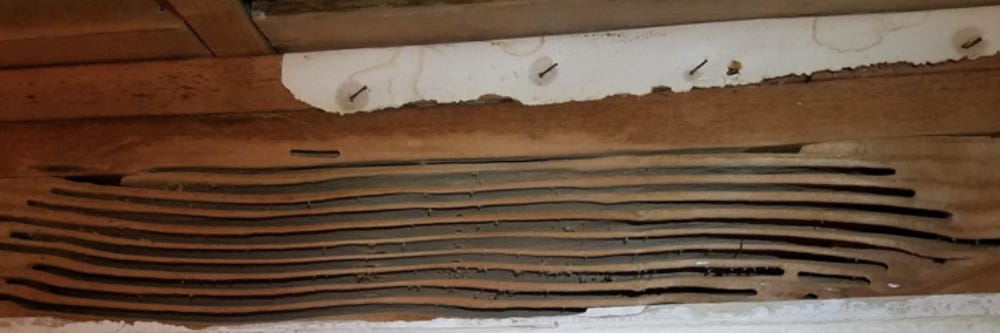
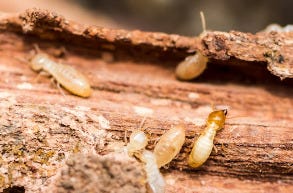
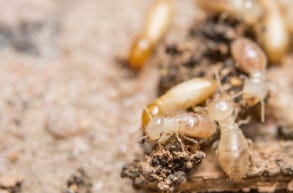
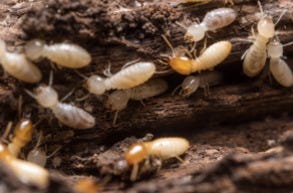
Carpenter ants are wood-destroying insects that achieve their name by creating tunnels and galleries in moisture-ridden wood.
Typically, they infest areas in your attic that has been compromised by water such as the attic roof, attic vents, wall voids, cracks and crevices in walls and attic floor, and other areas where the foam and insulation are present.
These activities should not be confused with termites, because carpenter ants prefer rotted to damp wood whereas termites infest dry and healthy wood.
Treatment
Step 1: Monitor for Frass
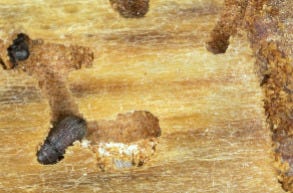
 Rather than remove the entire insulation within your attic, we recommend looking for signs of frass.
When tunneling through wooden materials, the carpenter ant will leave behind light light-colored sawdust material known as frass (feces) around the openings of their nests.
If you spot signs of this material, its best to begin treatments around these areas.
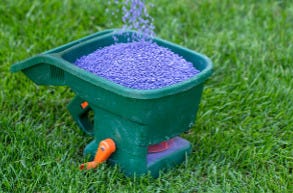
Step 2: Spread Bait
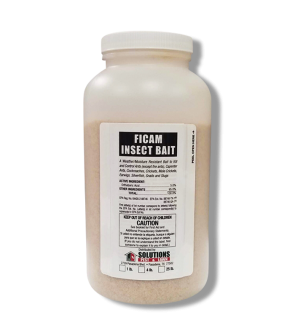
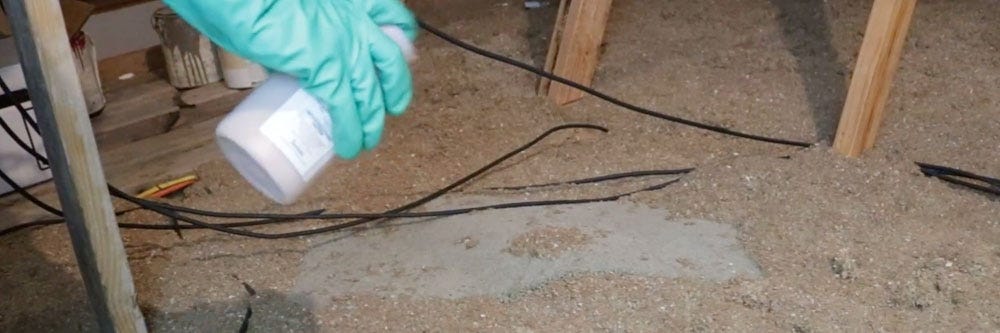 Apply baits such as Ficam Insect Bait near their tunnels and along trails they leave behind.
Ficam Insect Bait is a ready to use granular insecticide that is weather and moisture-resistant making it effective for more long-lasting control against carpenter ants and more pests.
Spread Ficam Insect Bait evenly in attic eaves, access drains, and other areas where carpenter ants have been noticed, but not on insulation.
Apply 4 lbs of Ficam Insect Bait per 1,000 sq. ft. or 6 oz. (1 1/4 cup) of product per 100 sq. ft.
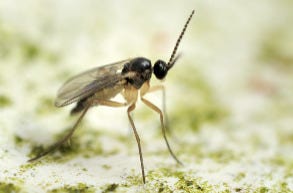
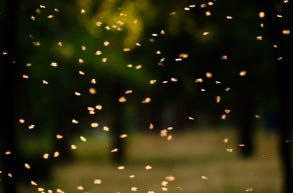
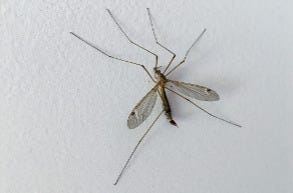
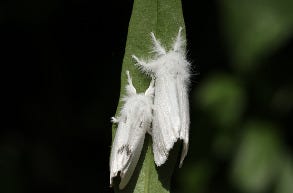
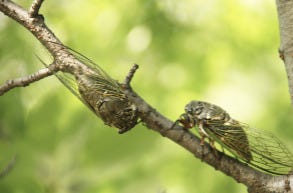
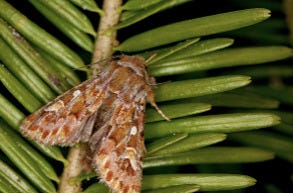
Cluster Flies
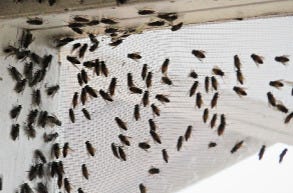
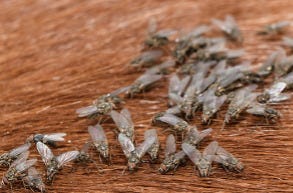
Most homeowners will see cluster flies outdoors during the warmer parts of the year, but during the colder months, they look for closed areas like homes and any other undisturbed areas like attics or basements to overwinter.
There is no real structural threat done by their activities, however, they can leave behind dark-colored waste on windows and walls. The issue with cluster flies is their ability to grow in population size leading to irritating hovering or gathering activities indoors.
Identification
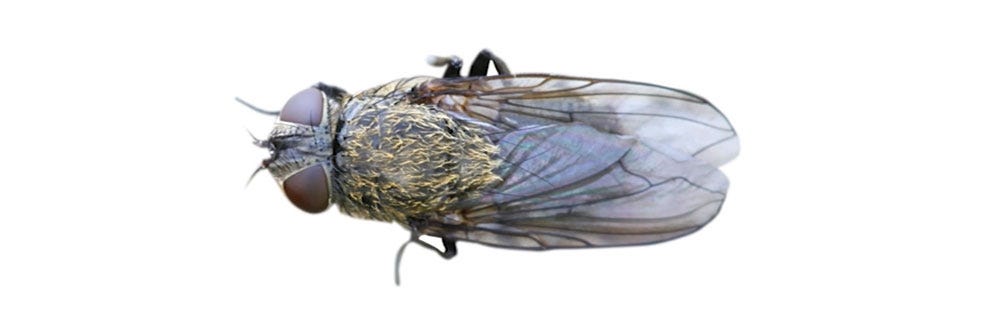
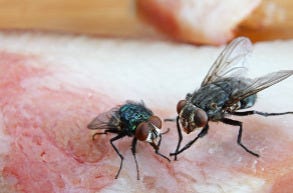
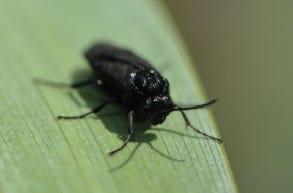
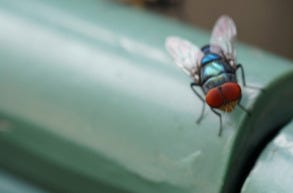
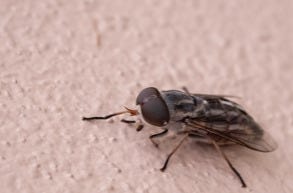
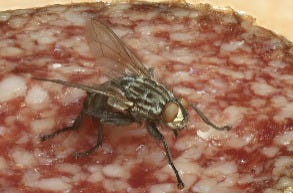
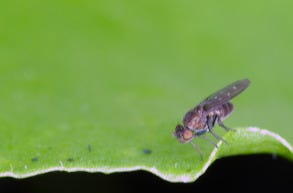
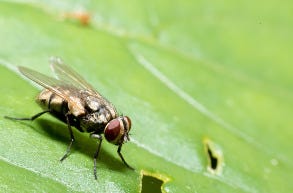
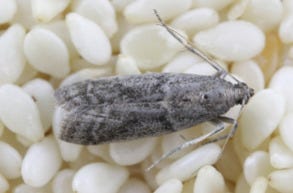
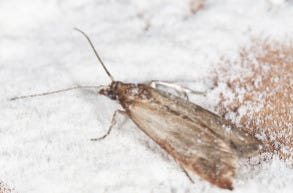
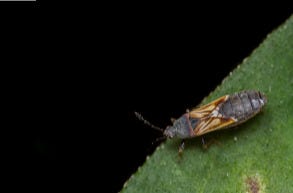
Slightly larger the common house fly, cluster flies are dark non-metallic gray with golden hairs on their thorax and behind their dead.
These 8 to 10 millimeter sized flies can be differentiated from house flies by their slow movement when flying.
Inspection

Cluster flies like to enter homes from voids, cracks, and crevices, typically around window or door frames.
Once inside, they move towards protected areas like the dark corners of attic or in wall voids where they will hibernate for the winter.
Treatment
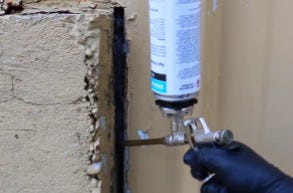
Step 1: Seal Cracks and Crevices
 Contrary to belief, cluster flies do not breed indoors, instead, they breed outside before entering a home.
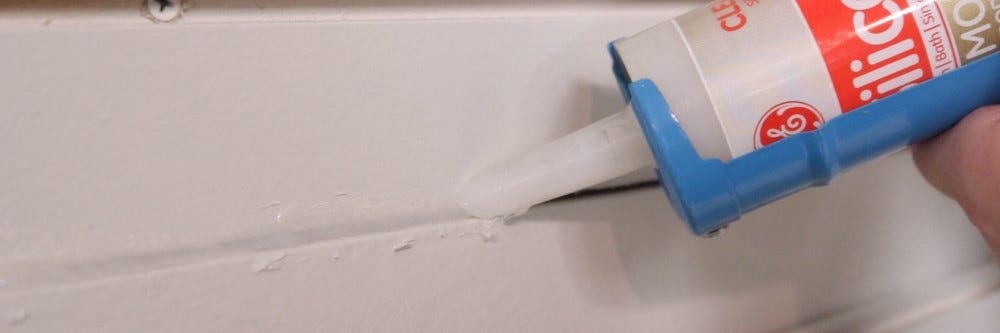
If you block their point of entry by sealing cracks and crevices around the exterior of your home with caulk then you can take the first step of control.
For other openings such as vents in the attic, it may be best to install the proper screening. We recommend replacing weather stripping around doors and window or door screens as well.
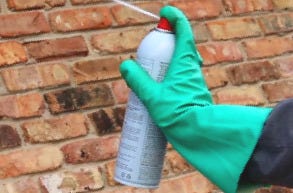
Step 2: Spray Insecticide Aerosol
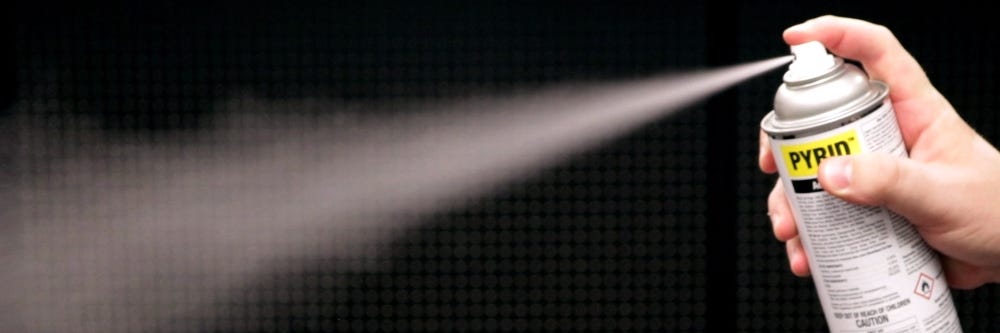 Insecticide aerosols like Pyrid Insecticide Aerosol is a fast and convenient solution for getting rid of cluster flies indoors.
Aim Pyrid Insecticide Aerosol directly at these flies for an immediate contact kill or a space spray. If using it as space spray, be sure to turn off air conditioners, fans, close doors, and windows before treating.
Do not allow people, children, or pets enter treated areas for at least 15 minutes or until the treated area has been thoroughly ventilated.
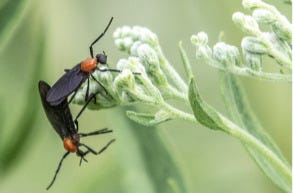
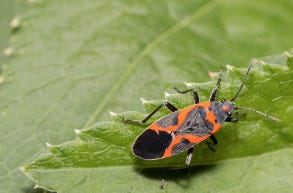
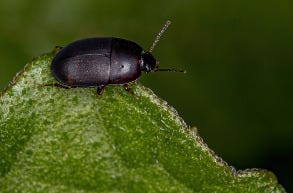
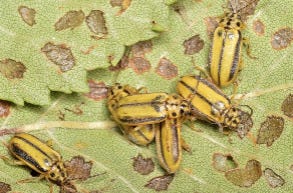
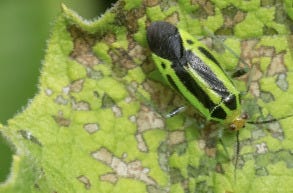
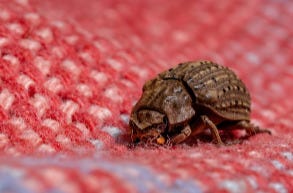
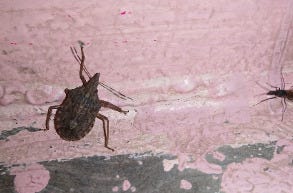
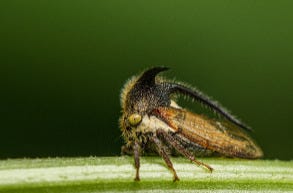
Stink Bugs
If you have ever caught a whiff of these pests, you know that stink bugs are not the most pleasant of insects to have indoors. They emit a foul odor commonly compared to that of a skunk, rotting fruit, or sulfur among many things when crushed or threatened.
Identification

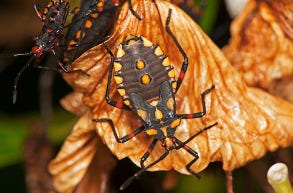
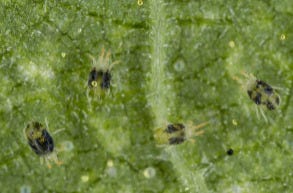
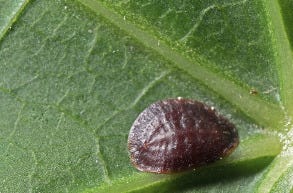
Stink bugs are 5/8th of an inch long shield-shaped bugs that often release a foul odor when crushed or disturbed. These brown colored insects have a long piercing-sucking mouthpart, six legs, two antennae, and wings that fold flat along their backs.
Nymphs look much like their adult form with the exception of their coloration. During this stage they will have black to dark brown colored bodies with red and orange markings.
Inspection

In the late fall, stink bugs will move indoors then once they are inside they will overwinter in dark and hard to reach sites. In attics, these sites may be voids, cracks or crevices in the wall or floor.
Sometimes they can be found near windows in attics, false ceilings, or other areas that are inaccessible to people.
Treatment
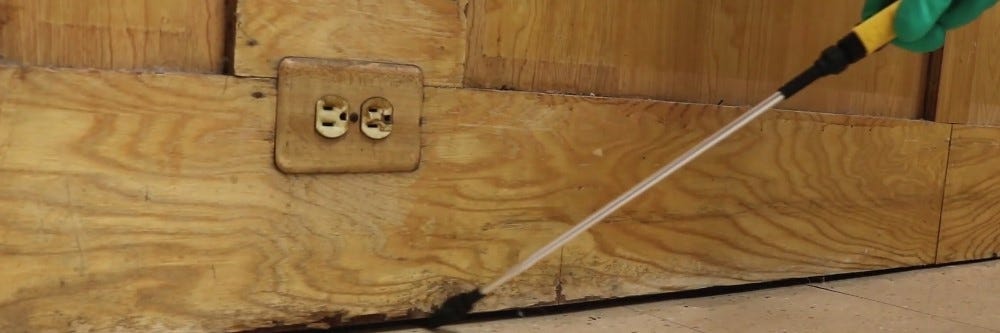
Step 1: Treat Cracks and Crevices
 Stink bugs are primarily an outdoor pest, but they will come indoors through any cracks, crevices, or voids. Another issue is when they do come indoors you do not notice their activity until the infestation has become large.
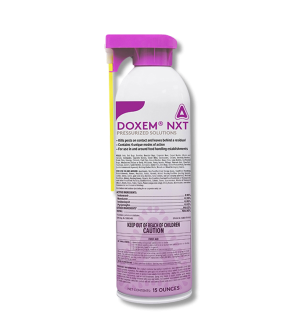
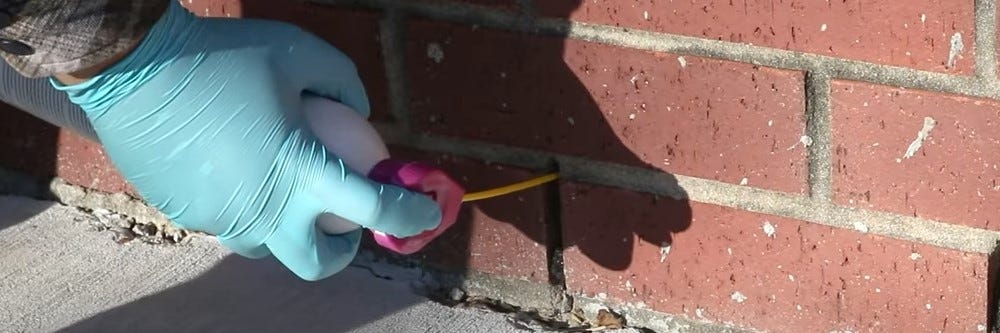
For this, reason you will want to treat both outdoor and indoor crevices, cracks, and voids with an residual insecticide. We recommend Doxem NXT a residual aerosol insecticide that will kill stink and stunt the growth of stink bugs immediately upon application and for up to 180 days after treatment.
For light infestations or for preventative treatment, spray Doxem NXT along the length of the opening in 1-second applications at a speed of 3 feet per second and space the applications out about 3 feet apart.
For heavy infestations, apply this product at 1 foot per second with 12" (1 foot) of space between each application. For inaccessible closed voids calculate the voids volume and treat at rate of five to ten seconds per three cubic feet.
Step 2: Seal Off Openings
The best way to prevent stink bugs from coming indoors into your attic is to seal off all outdoor and indoor openings with caulk.
All outside entry points should be repaired and sealed in the late spring and early summer before stink bugs begin to migrate for overwintering activities.
Screens on doors and windows should also be secured or replaced to further prevent stink bugs activities.
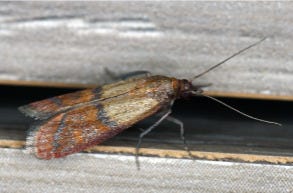
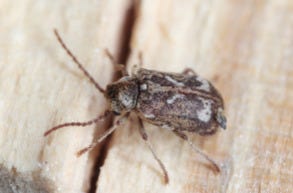
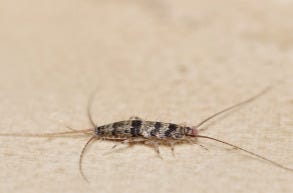
Silverfish
Known for their ability to destroy organic and non-organic items, silverfish are not a pest you want to experience in your home. These pests thrive in high humidity environments such as attics and remain close to food sources until they are depleted.
Things such as paper products, clothing, and foods like flour, sugars, or other starch or protein-rich goods are apart of a silverfishes diet. Due to their ravenous appetite, silverfish should be quickly controlled.
Identification
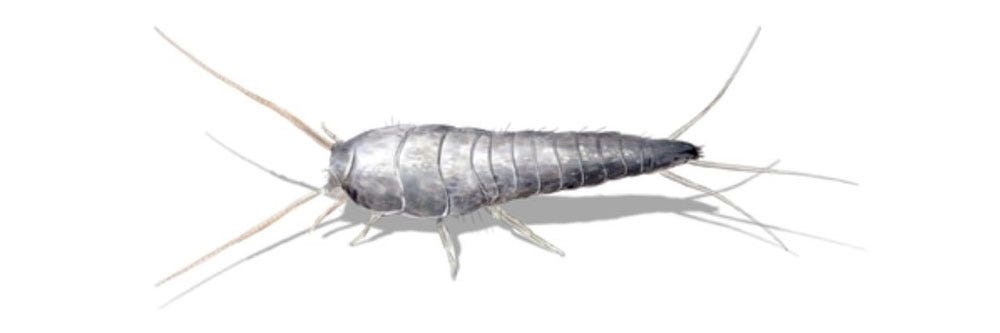
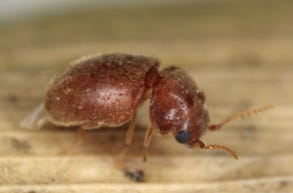
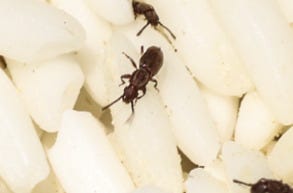
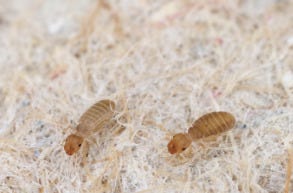
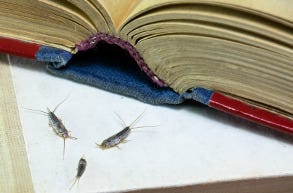
These pests achieved their name from their silvery, metallic appearance and fish-like shape and movement. Silverfish also have 2 long antennae and 3 long tail appendages giving them the nickname bristletails.
Inspection
 In attics, silverfish hide in storage boxes to eat the glue and bindings on books and other materials commonly stored in boxes like paper or clothing.
Other areas they can be found in are cracks and crevices in roof rafters, walls, or roof in attics as well as in the insulation.
Treatment
Step 1: Eliminate Food Supply
 The first thing you should do when getting rid of silverfish for good is to dispose of contaminated items in an outdoor trashcan. Because silverfish can live without a dependable food supply for several months to even a year.
Be sure to place unwanted or damaged items in garbage bag before moving them from your attic to prevent spreading the infestation further.
Once all disposable items have been removed, placed all desired items in a sealable plastic container. It would not hurt to go ahead and store food items in other parts of your home in a plastic container as well for additional food control measures.
Repair and reduce moisture levels in your attic and home to control silverfish. You may need to repair plumbing and install dehumidifiers since this pest requires a-lot of moisture.
Step 2: Use Bait
Boric acids are one of the most effective active ingredients against silverfish. Strategically place boric acid baits like Ficam Insect Bait in the eaves and access drains of attics, but not on the insulation. It may also be applied in the cracks and crevices where silverfish may hide.
Apply 4 lbs. of Ficam Insect Bait per 1,000 sq. ft. or 6 oz or 1-1/4 cups of product per 100 square feet of surface area. For crack and crevice treatments, you may need a bulb duster.
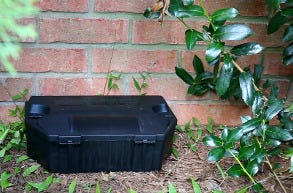
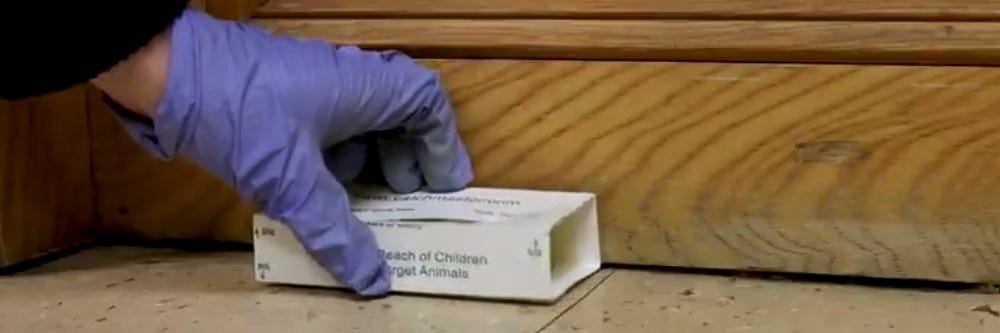
Step 3: Set Up Trap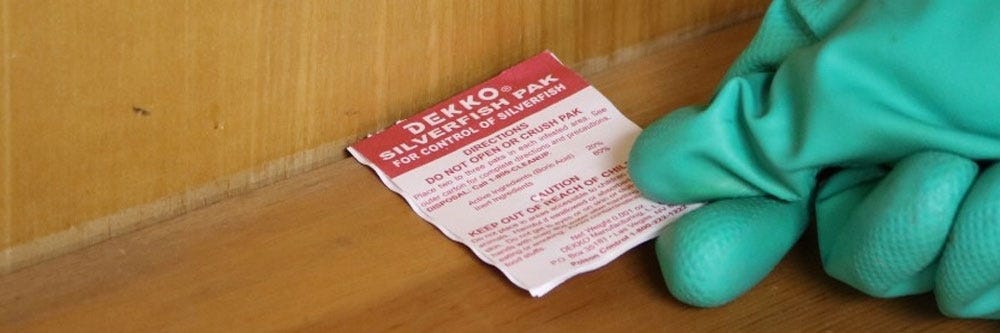
In more open areas of your attic, set out traps like Dekko Silverfish Packs. These ready to use traps are pre-baited with boric acid to lure silverfish to the adhesive surface and will continue to work for 4 months.
Place 2 to 3 of the Dekko Silverfish Packs per 100 sq. ft. in areas where you have seen silverfish activity.
You may not notice activity until 3 days to 4 weeks after application.
Step 4: Seal Openings
Ensure all cracks and crevices around window and door frames in attics and other parts of your home are sealed with caulk or weather-stripping.
Any holes, cracks, or crevices where silverfish can enter should also be sealed with the appropriate material.
Spiders
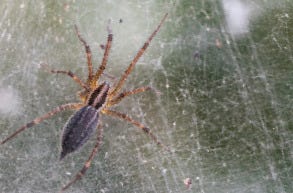
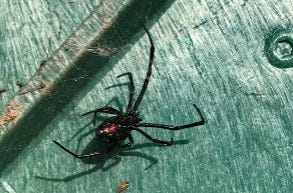
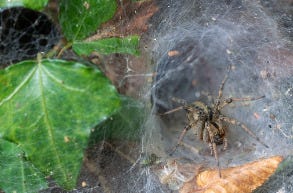
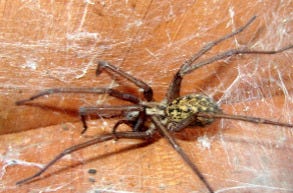
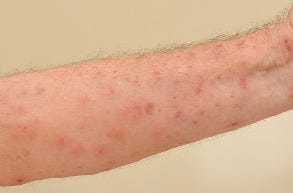
Few things cause as much fear and anxiety in people as the thought of spiders. The brown recluse spider, sac spider, and wolf spider are the most common spiders to occur in attic spaces.
These spiders are active hunters that result in painful bites leading to serious health complications to people and sometimes pets.
Identification

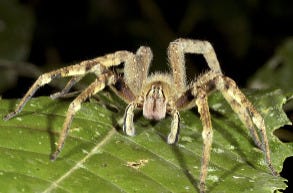
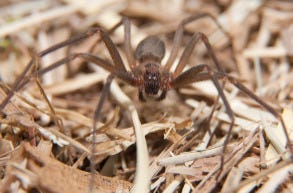
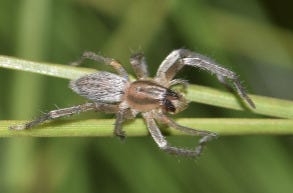
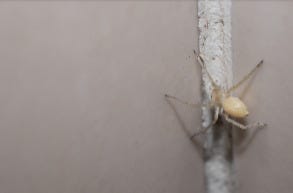
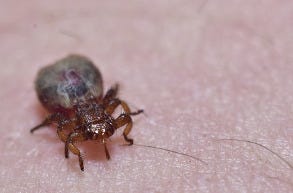
For a physical reference: the left image is a brown recluse spider, middle is a sac spider, and the one on the right is a wolf spider.
The brown recluse spider is a medium-sized spider that ranges between 1/4 to 1/2 inches long. Their color ranges from a light yellowish brown to a tawny, darkish brown. These pests also have 6 to 8 eyes arranged in a semicircle.
The most distinguishing characteristic of this pest is its violin or fiddle shape marking on its head.
Sac spiders are mainly beige to yellow in color with a 1/10 to 1/2 inch long body and 8 eyes total. In some instances, they can also be red, brown, tan, and yellow. They have no distinctive markings except a brownish tint at the bottom of their legs, which in reality is closely dense hairs.
Wolf spiders are large sized spiders that range from a quarter of an inch too over an inch long. They are brown too gray in color with black markings on their bodies and legs. Besides their hairy bodies, another unique trait of this spider is its 8 eye arrangement.
They have 3 rows of eyes with the upper row having 4 small eyes, the middle row having 2 large eyes, and the bottom row containing 2 small eyes.
Inspection
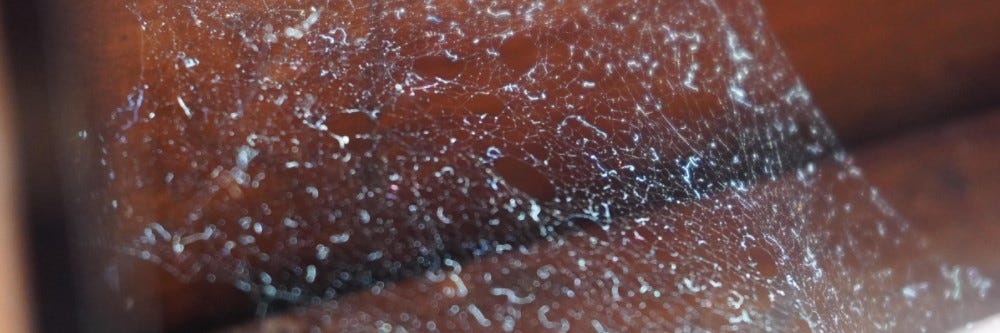 These spiders are most commonly found in tight spaces within attics. Brown recluse spiders are frequently found in and around boxes or the corners of attics to create their webs.
Sac spiders prefer to hide in cracks and crevices in attics and other spaces that have minimal activity by people. These pests prefer to build their webs in the corners, along the baseboards, and behind appliances in attics.
Common places for wolf spiders to hide in attics are stored boxes, wall voids, and other floor level surfaces that have minimal activity by people.
Treatment
Step 1: Clean and Declutter
 Since these spiders depend on obstructed areas to hunt and create their webs you will need to remove all clutter. Place all objects in your attic in a sealable plastic container to deter other insects from moving in.
Move boxes and other objects in your attics away from the wall and corners to keep spiders away from corners.
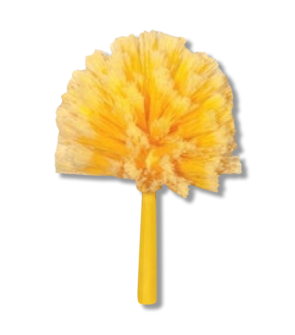
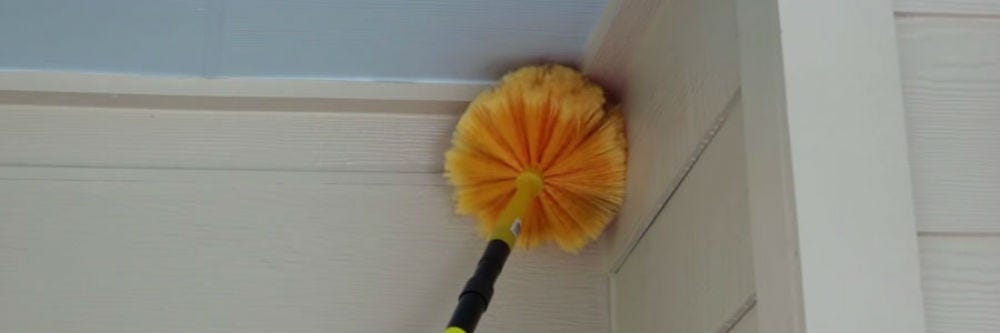
Adequately dust all surfaces, around objects and objects, corners, eaves, soffits, and existing cobwebs in your attic with the JT Eaton Yellow Cobweb Duster.
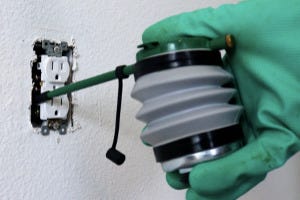
Step 2: Seal Cracks and Crevices
Seal all cracks and crevices where spiders may enter the home, including the areas where the soffit meets the wall, and cracks where plumbing enter the structure.
It would help to also add door sweeps and weather stripping around doors and windows and screening behind all vents in the attic.
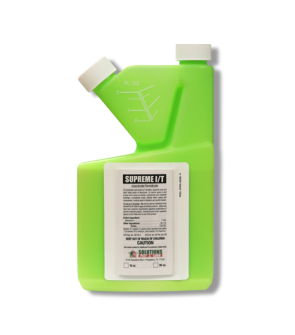
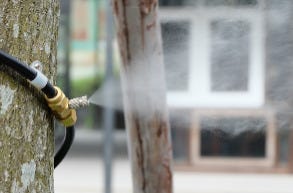
Step 3: Spray Supreme IT
 Spot treatments with a residual insecticide to areas where spiders may crawl or most effective when combined with crack and crevice treatments.
Applications to the areas where the wall meets the floor are more effective than open space treatments because these spiders are most likely to use the edge of the wall to move and hunt.
We recommending spraying 0.33 to 1 fl. oz. of Supreme IT in 1 gallon of water per 1,000 sq. ft. Adjust the sprayer to a coarse low-pressure setting then spray the eaves, corners, and baseboards as a spot treatment and along cracks and crevices.
Do not apply Supreme IT as a space spray in attics or any other indoor spaces.
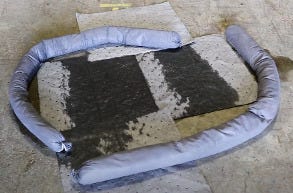
Step 4: Set Out Traps
 Use monitoring traps like the Solutions Pro Glue Board, throughout the attic to determine the spiders location and population size.
The Solutions Pro Glue Board is a non-toxic trap made with an durable adhesive to control spiders, mice, snakes, and more.
Place several of the Solutions Pro Glue Board along walls, under furniture, near stored boxed items and vents, and on shelves in attic.
Each product will cover up to 30 square inches and should be replaced if it becomes full with trapped pests. It will become ineffective if covered with dust so we recommend replacing it if these conditions are met.
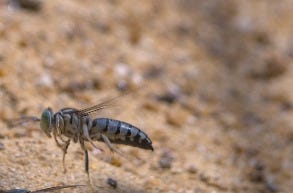
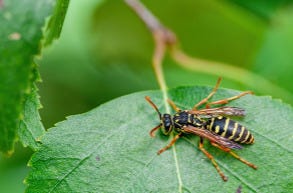
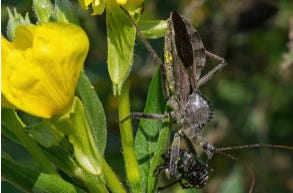
Wasps
Many wasps like paper wasps love man-made structures and quiet, sheltered areas, which your attic readily provides.
Once you have spotted a wasp nest in your attic or hear signs of their rhythmic buzzing, you'll want to quickly take care of it before someone gets a painful sting.
Identification
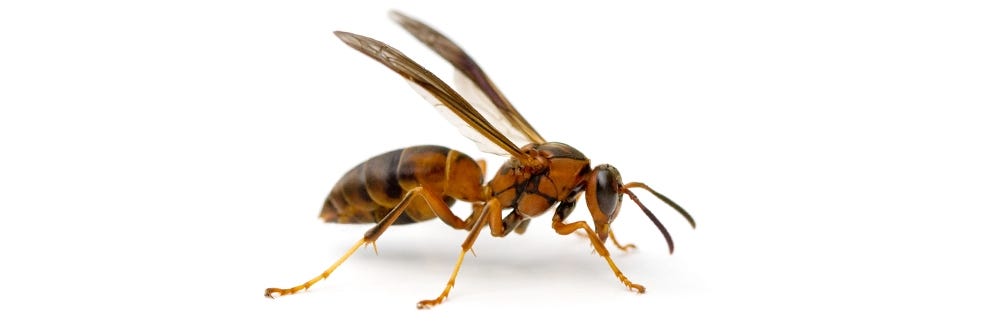
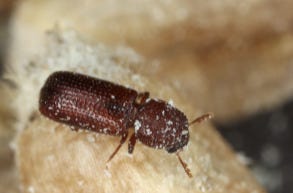
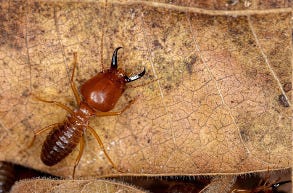
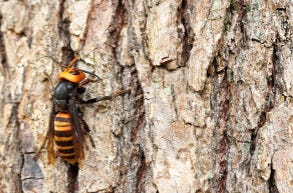
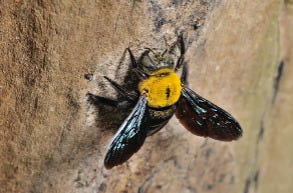
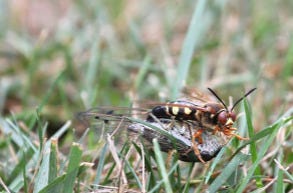
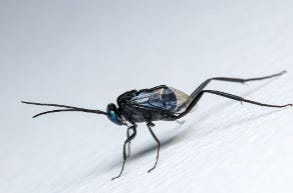
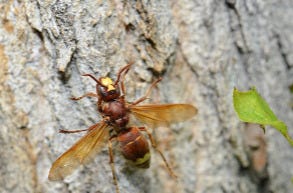
Paper wasps are long-legged, reddish brown to black colored insects with either red or yellow markings.
They look very similar to other species of wasps like yellow jackets, the exception being: they have thinner waist and dangling legs when flying whereas yellow jackets have shorter legs and thicker bodies.
Inspection
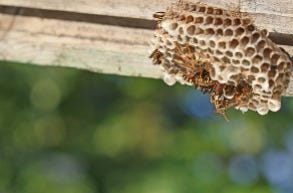
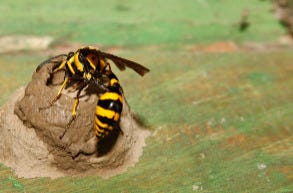
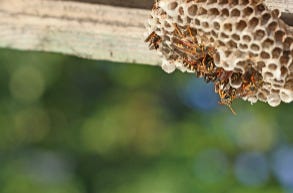
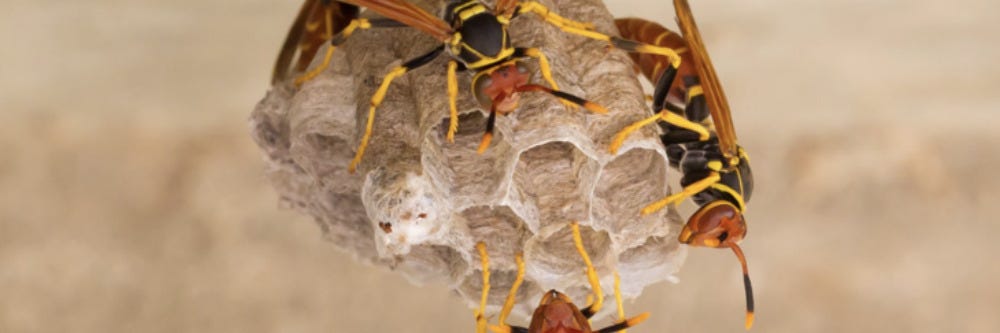 Paper wasps build nests that have the appearance of an open honeycomb or that of an upside umbrella.
These nests are built in protected areas of the attic that are several feet off the ground such as the exposed area beneath soffits, rafters, eaves, and along exposed chimney siding.
Treatment
Wasps nests in the attic can be a dangerous nuisance. Although you want to go in as soon as possible you will need to put on long-sleeved pants and shirts, gloves, masks, protective eyewear, closed-toe shoes with socks.
For further protection, we recommend wearing a professional bee suit to ensure total safety from any painful stings during treatment.
Step 1: Spray Insecticide Aerosol
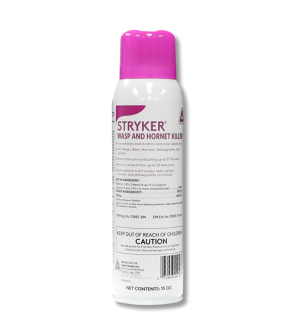
 To remove a wasp nest that has been built on or in your home, we highly suggest spraying it with an aerosol insecticide spray. Stryker Wasp and Hornet Killer is a ready to use wasp killer aerosol spray that quickly kills wasps from a safe 20 feet distance.
Wait until the evening or in the morning and when all people and animals are out of the house before spraying Stryker Wasp and Hornet Killer.
Spray this product directly at the nest opening and around the nest until it is thoroughly wet. Treat any wasps that escape the nest when possible.
When using in an attic, do not contaminate stored items, HVAC systems, water heaters or other non-structural items.
Wait for a couple of days before removing the nest, make sure all wasps are dead.
Step 2: Seal All Openings
After treating the wasp infestation, you will need to find and location all voids, cracks, and crevices to prevent them from returning.
Look around your attic for any openings around window and door frames, ceilings, walls, and floors then properly seal them with caulk or other appropriate materials.
Key Takeaways
What Pests Could Be In Attics?
- The most common insect pests to infest attic spaces are stink bugs, cluster flies, silverfish, spiders, carpenter ants, and wasps.
How Do You Know If You Have Pests in Attics
- Signs of pests in attics could be waste, noises like buzzing, damaged stored items, or seeing the pest itself.
Will Pests Leave Attics on Their Own
- More often than not, most pests will perish in attic spaces, but will leave behind the next generation of pests to create a new series of damages.