How to Seal Crack and Crevices with Expanding Foam
Most Effective Products
How to Seal Crack and Crevices with Expanding Foam
This page is a general DIY guide that will help you prevent and control various pests from invading your home, garage, and other structures. Following this article and use the recommended products to completely control future activities by unwanted pests with knowledge of expanding foam products.
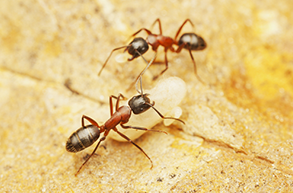
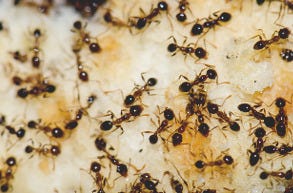
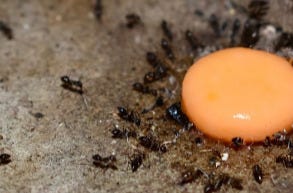
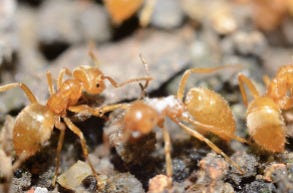
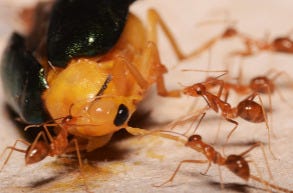
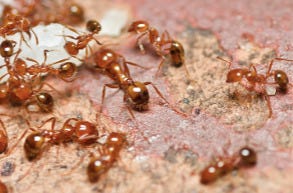
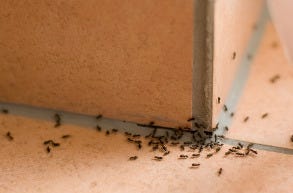
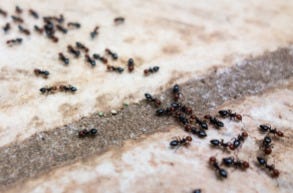
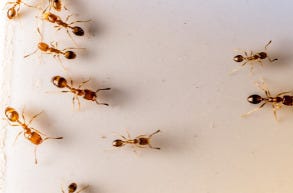
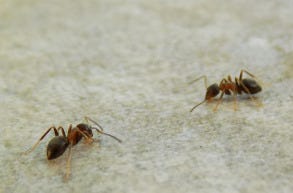
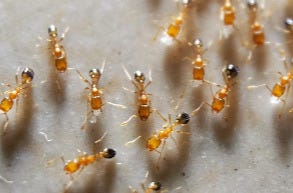
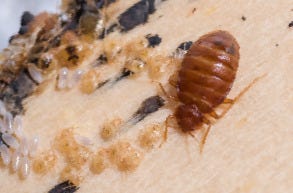
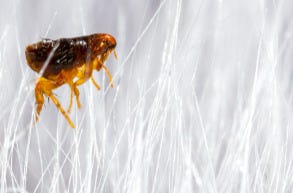
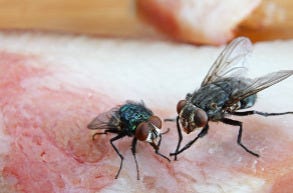
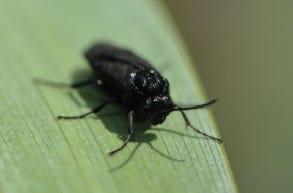
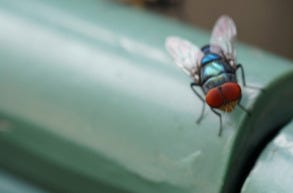
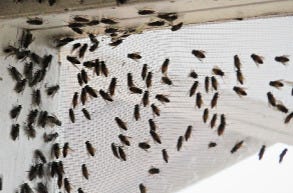
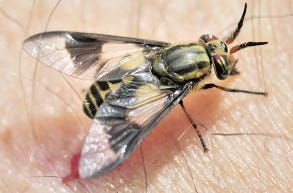
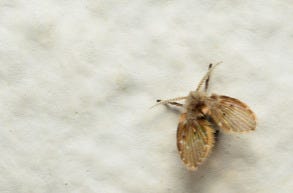
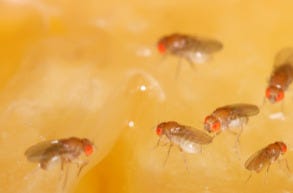
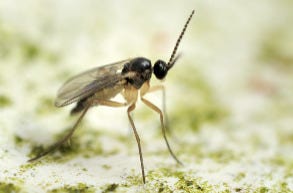
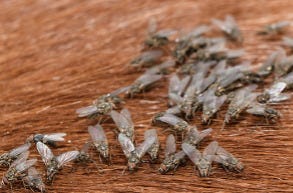
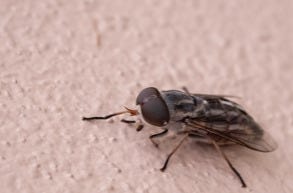
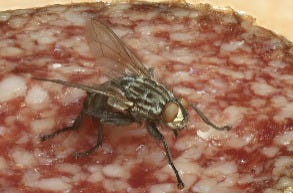
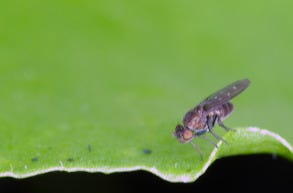
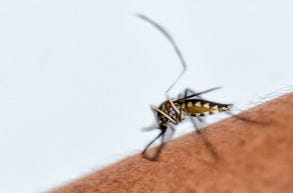
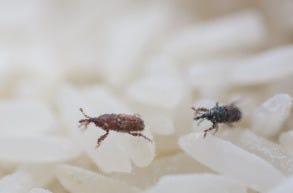
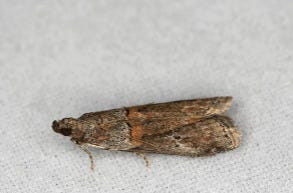
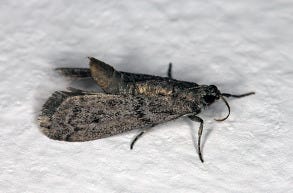
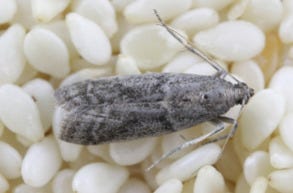
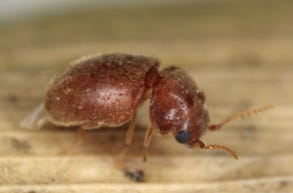
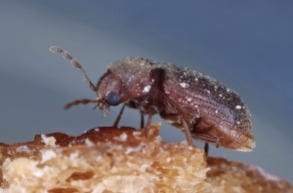
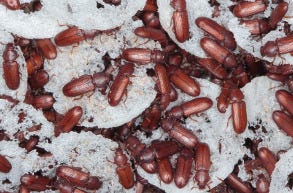
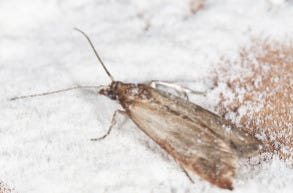
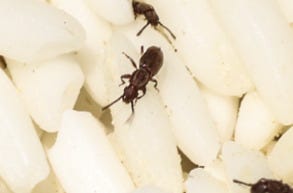
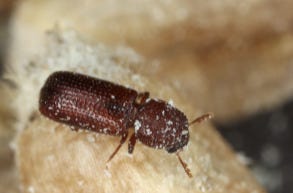
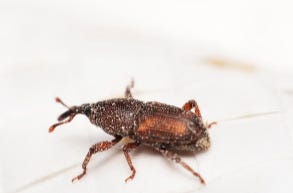
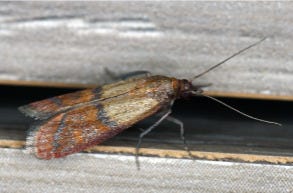
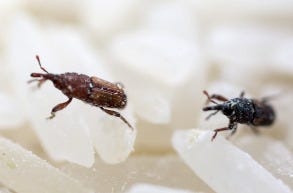
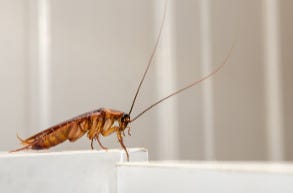
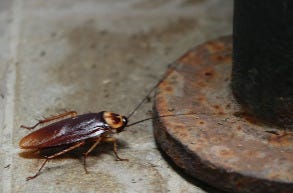
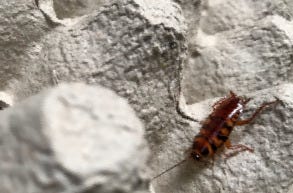
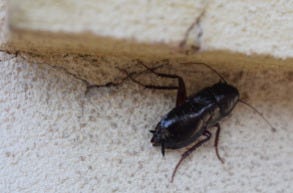
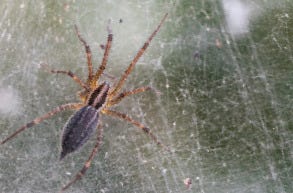
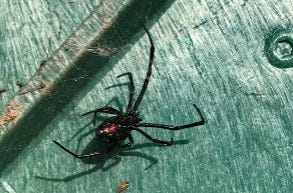
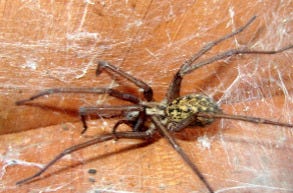
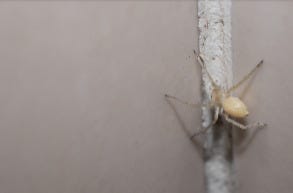
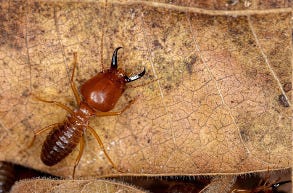
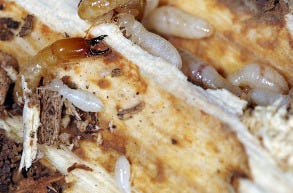
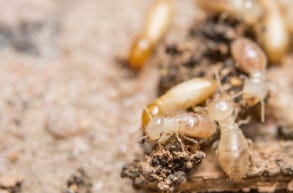
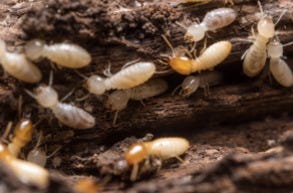
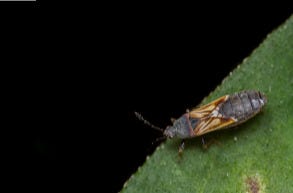
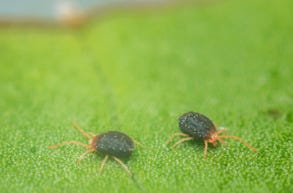
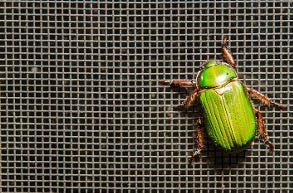
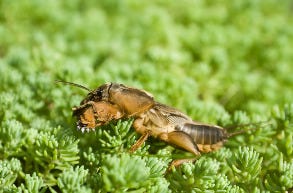
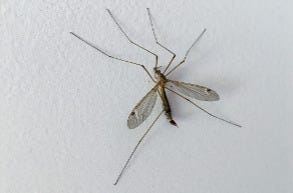
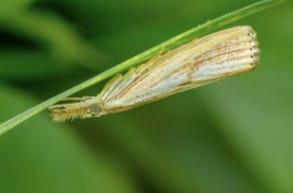
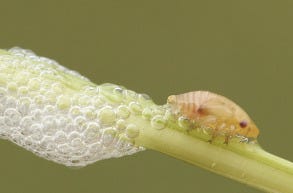
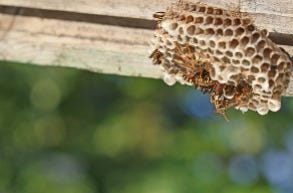
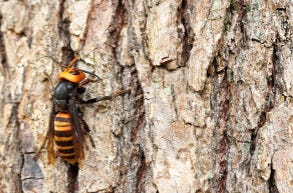
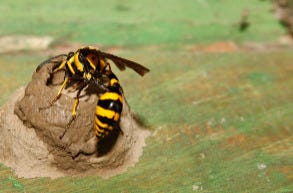
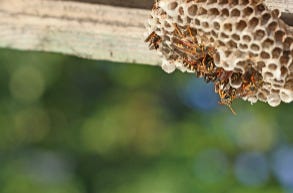
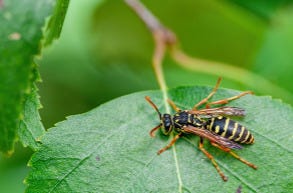
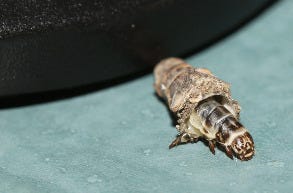
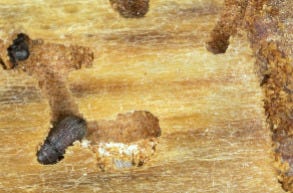
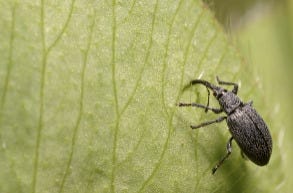
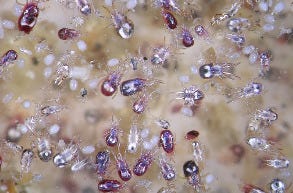
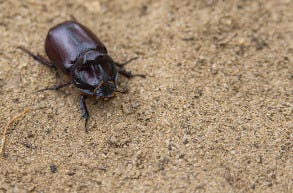
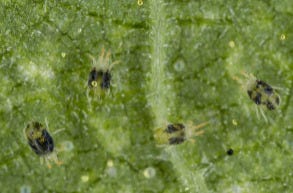
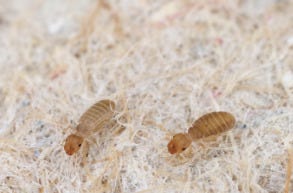
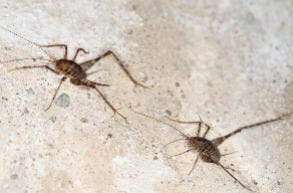
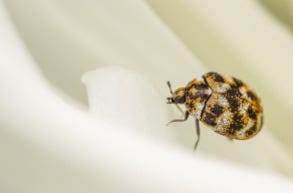
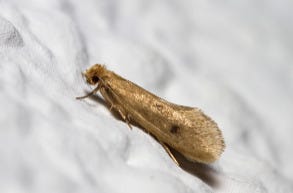
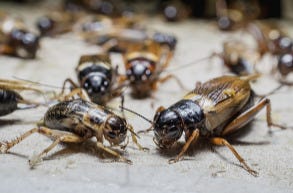
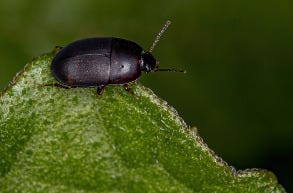
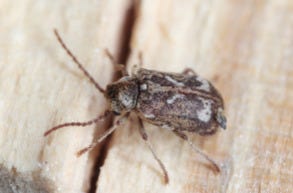
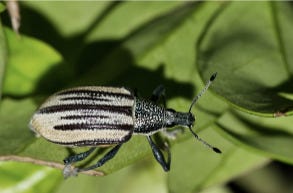
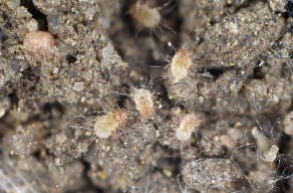
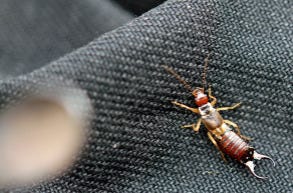
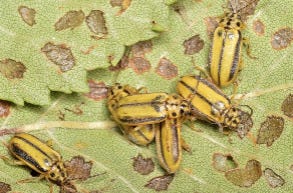
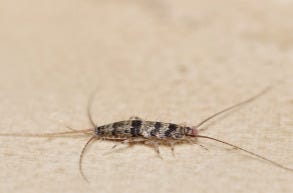
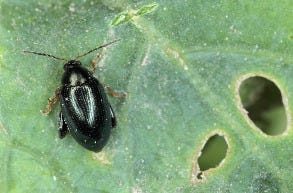
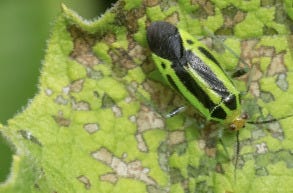
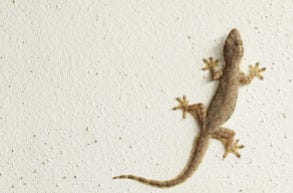
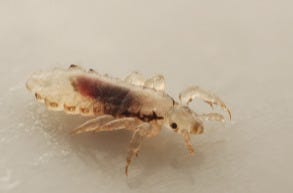
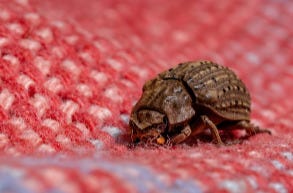
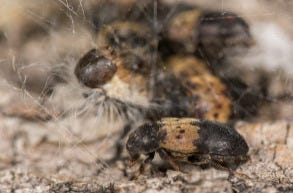
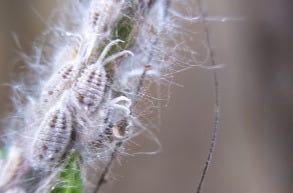
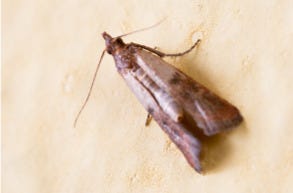
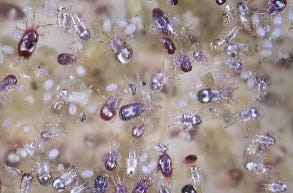
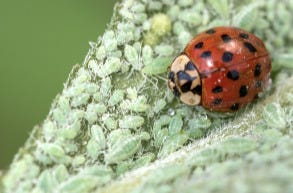
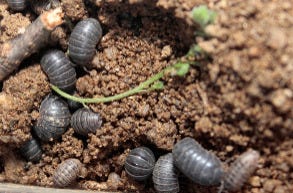
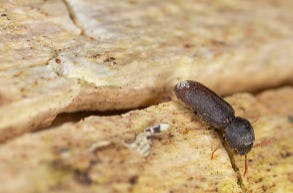
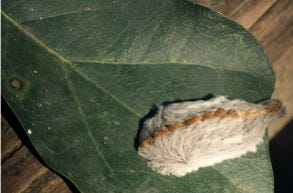
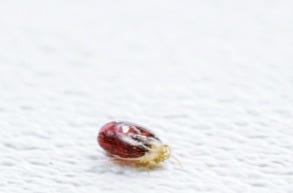
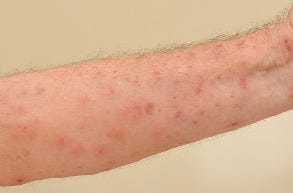
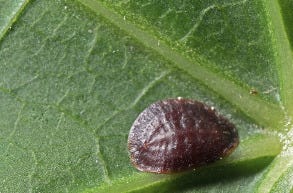
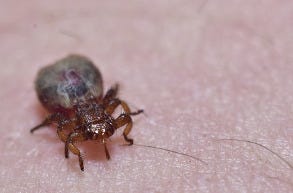
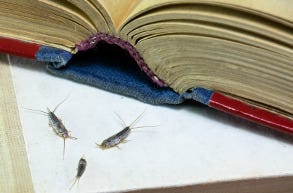
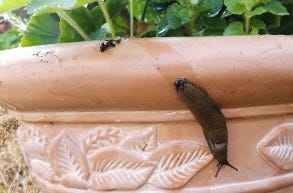
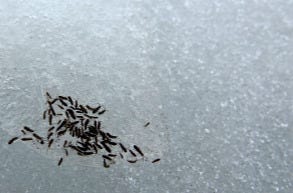
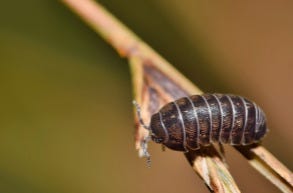
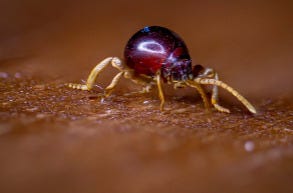
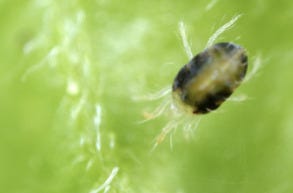
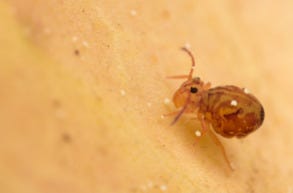
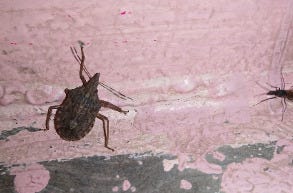
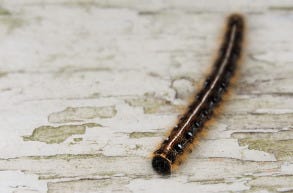
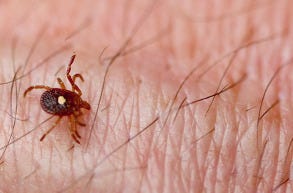
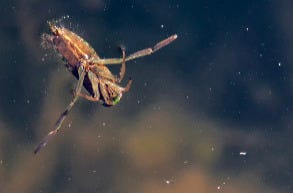
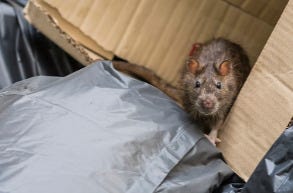
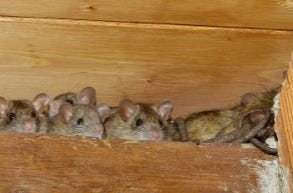
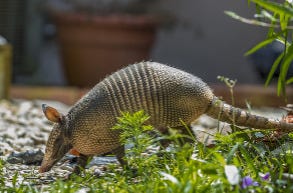
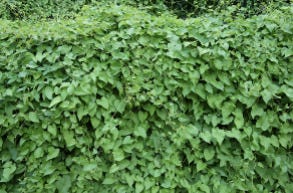
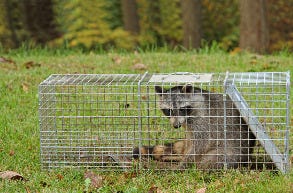
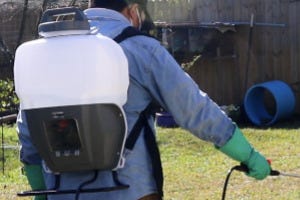
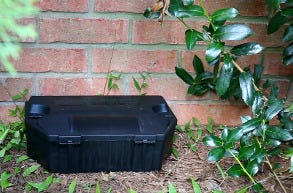
Pests such as rodents, reptiles, insects, and animals will find their way into your home through the smallest of openings. There are definitely methods of reducing these infestations before they come into your home, a critical one being the type of crack and crevice sealant you use.
Spray expanding foam is completely pest proof due to the airtight barrier it creates as well it is not acting as a breeding ground or source of food for these pests. When you think of your home imagine it in layers from the siding, substructure, and insulation. Each of these components adds to your home's durability.
Whether doing some general home maintenance or implementing some form of preventative pest control measures, it's important to seal gaps, crevices, cracks, and joints to prevent pest penetrations and access to other elements. Learning how to seal these openings with expanding foam greatly decreases energy loss and pest infestations.
Benefits of Expanding Foam
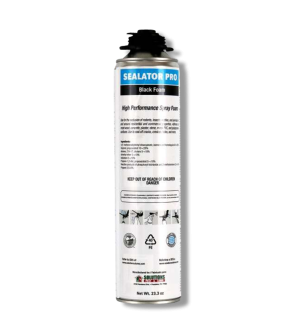
Expansion foam, like Solutions Sealator Pro Black Foam, offers a highly effective solution in reducing unwanted air and pest infiltration through cracks, crevice, and joints. Often used for exterior and interior applications of various homes, buildings, and other structures.
An advantage of expansion foam such as polyurethane is that is it can form strong airtight seals, allowing for more durable structures and seamless insulation despite pest and weather activity.
What You Will Need
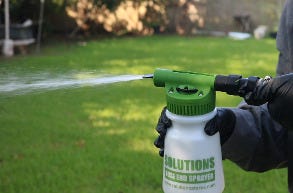
- Spray Expanding Foam Insulation
- Scraping Tool
- Foam Sealant Remover
- Disposable Gloves
- Safety Glasses
- Long-sleeved shirt, long-sleeved pants, and closed-toe shoes with socks
How to Do Crack and Crevice Treatment with Foam
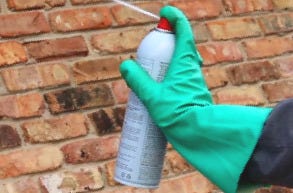
Before beginning any type of expanding foam application, wear the proper personal protective equipment (PPE).
It would also be best to check impending rainfall at least 1 day prior for outdoor applications. Depending on your choice, some expanding foam products will take some time to cure.
Step 1: Determine Application Site and Appropriate Foam

While expanding foam is a fast and easy way to seal openings outdoors and in other parts of the home, it's not ideal for all application sites.
Depending on your product label, the most common places to use expanding foam is the attic, crawl space, basement, joints, cracks, crevices, around window and door frames, and wall spaces.
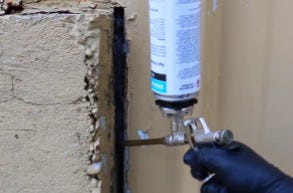
However, window and door frames do not need an expanding foam that expands aggressively. In which case, Solution Sealator Pro Black Foam forms a moderate expansion making it ideal for tight crack and crevice areas such as window and door frames.
Avoid using expanding foam products for sealing around electrical boxes, large areas like openings in walls, and areas where people or pets can come into contact with cured foam.
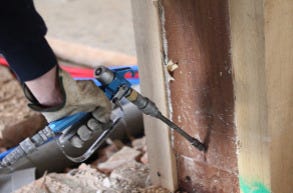
Wear the proper personal protective equipment (PPE) such as gloves and protective eyewear when applying Solutions Sealator Pro Black Foam.
Step 2: Prepare Crack, Crevice, Joint for Repair

Clear cracks, crevices, and joints of any debris, partially damaged filling material, dust, grease, or any other loose material. With your scraping tool, insert it into the depth of the opening between the surfaces until material is dislodged.
Use a vacuum cleaner, dusting tool, or wet cloth to clear the crack, crevice, or joint of any dust or other materials.
Step 3: Fill the Crack, Crevice, or Joint with Expanding Foam

Some expanding foam products have a quick expansion rate, which can make it difficult to remove from undesired treated surfaces. For this reason, you may want to test spray your expanding foam on a piece of paper or cardboard to have a better understanding of how fast it sprays and expands.
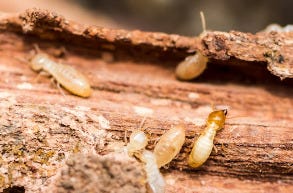
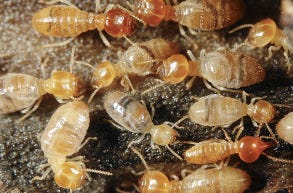
We recommend using Solutions Sealator Pro Black Foam, which is a moderate expansion foam that creates an airtight seal around joints, window and door frames, and crevices against pests such as rodents, animals, insects, and more.
The best practice at applying this foam is to use a professional foam gun like the Solutions Polyurethane Foam Gun. This way you avoid unnecessary contact with the foam and have better control over foam application.
Before beginning, shake the canister well in an up and down motion about 20 times. Connect the spray gun with Solutions Sealator Pro Black Foam and tighten by rotating until can is screwed firmly into gun connection. Open control knob and begin applying Solutions Sealator Pro Black Foam in a continuous spray to surface by squeezing trigger, adjusting the amount dispensed by how hard the trigger is squeezed.
Apply the Solutions Sealator Pro Black Foam to the desired surface. When applying foam in layers, moisten slightly between each layer.
Step 4: Shape the Uncured Foam
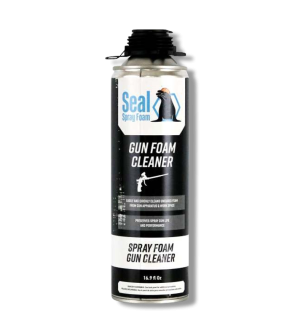
When the entire treatment area is filled with Solutions Sealator Pro Black Foam, allows enough time to pass for it to dry. However, if the foam is on undesired surfaces like tools, clothing, or surfaces that come into contact with people then spray a foam gun cleaner like the Seal Spray Foam Gun Cleaner.
You may use a scraping tool, but keep in mind there is the potential of scratching the surface so it would be best to remove any overspray with a foam gun remover.
Follow your selected product label to determine if foam can be shaped and if it needs to be uncured or cured to do so. When its ready according to the product label, trim excess foam off treated surfaces until smooth.
Step 5: Repair Treated Surfaces and Re-Caulk

On treated surfaces, ensure the expanding foam is smooth and not protruding from the crack, crevice, and joint unless caulking is not necessary for that space. Otherwise, areas such as cracks in walls and other wall spaces will require a caulk finish after expanding foam application.
Caulk over the expanding foam in areas that are exposed to water such as around sinks, windows, and door frames.
Key Takeaways
Where Not To Use Expanding Foam
- Avoid using expanding foam near electrical outlets or boxes, around ceiling lights or fans, open flames, on the roof, or when a waterproof barrier is needed such as in basements.
Does Expanding Foam Need Air to Cure
- Expanding polyurethane foam sealant requires the moisture in the air to expand and cure.
What To Do After Using Expanding Foam
- Shape and remove expanding foam sealant before it hardens to create a smoother finish for caulking and easy removal of undesired foam product.