Getting Started with Pesticides
Most Effective Products
Getting Started with DIY Pest Control
You have decided to do your own pest control to either treat an existing pest problem or prevent one from cropping up. But where to start? DIY pest control can seem difficult, but it is much easier than you think. Your success is important to us, so we put together some quick tips on how to get started with using pesticides.
Though general in nature, these tips will apply to just about any kind of pest control treatment you plan to take, whether you are looking to control bed bugs, or performing a general pest control treatment.
Read the Label

This is the first and most important step. You must read the label of any pesticide product you intend to use before treatment. All professional pesticide labels are registered with and accepted by the Environmental Protection Agency (EPA), and contain important information on the proper usage of the product.
The pesticide's label will have information on the accepted use, handling, and storage of the product, as well as the necessary safety precautions and equipment required for use.
The label will also explain which pests the product is labeled for, how much product you will need, where you can apply the product, and how to prepare the application area -- all critical information on how you will most effectively treat your target pest.
Prepare the Treatment Area

It is important to have a clean area before applying product for maximum results.
Cleaning will not only get rid of some of the pest harborages, but will also clean up any food and rotting organic material that might have attracted pests to your property in the first place.
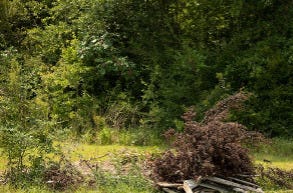
When applying pesticides outside, clean up any leaf litter or yard debris, like fallen branches, wood piles, or clumps of dead grass.
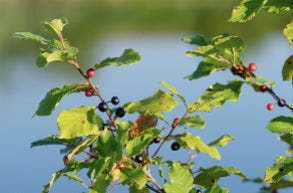
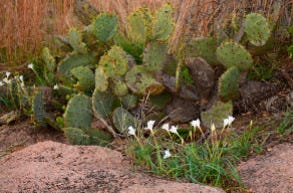
Clean up flower and garden beds, removing any dead leaves and dead ornamental plants that may be present. Move any furniture or lawn decorations that might prevent the pesticide from reaching the target area.
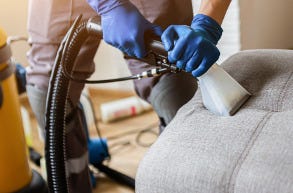
If you are applying pesticides indoors, first clean your target area, especially kitchens and bathrooms. Remove any food and address any high-moisture spots, like under sinks or around plumbing. Take out trash or keep it in a tightly sealed trash can.
Sweep up any crumbs on floors and counter tops, and remove any grease buildup around stove tops. It is important that when you are cleaning, only use warm water and mild soap. Chemicals in most household cleaners can actually deter pests from the area, making your pesticide application ineffective.
Don't forget to also vacuum the area, especially in living rooms and dining rooms where leftover food crumbs are typically present. Pet food should be tightly sealed in a container and stored away.
Clutter should be removed from the treatment area. Items such as clothes, toys, pet items, decorations, electronics, and similar items must be picked up and put away so that they do not interfere with your pesticide treatment or come into contact with your product.
Personal Protective Equipment

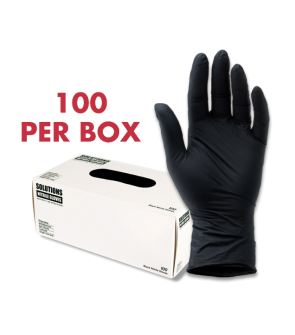
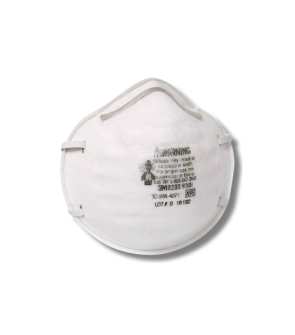
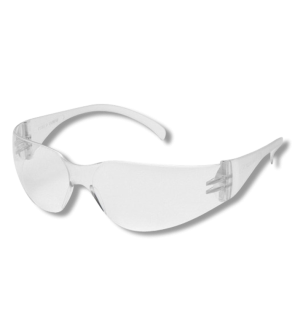
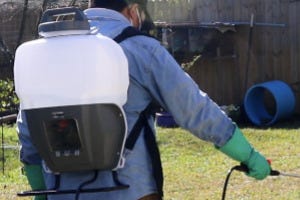
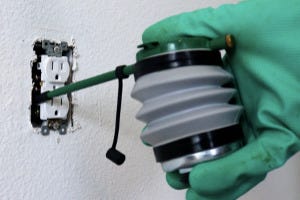
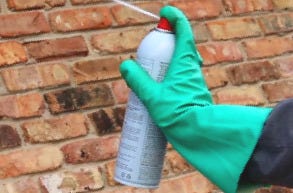
Before handling or applying any pesticide, you need to make sure you are wearing the proper personal protective equipment (PPE). The label will tell you the specific items you need in order to safely apply your pesticide.
Generally, the most common items are chemical-resistant gloves, long-sleeved shirts and pants, closed-toed shoes, a paper or respirator mask, and protective eyewear. You might also consider wearing a hat if you are applying liquid pesticides to elevated spots, like tree branches or home eaves and soffits.
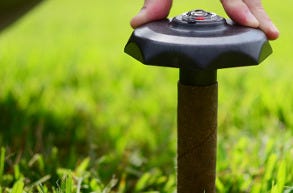
Determine Mix and Application Rates

Depending on the product you purchased, you will either have a mix or application rate. Both rates are almost always dependent on the square footage of your area. You can measure the square footage by multiplying the length and width of your treatment area together (length x width = square footage). For exact dimensions of your treatment area, you may need to measure several areas and add them together to get the area's total square footage.
When determining how much product you need, first find out how many square feet you need to treat by multiplying the length and width of your desired treatment area. On your product label you will find exact rates. It is important to follow these rates when applying product for safety and efficacy. Liquid pesticides will also give you a rate per gallon of water. One gallon of mixed solutions will typically treat 1,000 sq. ft.
Divide the square feet of your treatment area by 1,000, and then multiply by your labeled rate to find the amount of product you need to treat your area.
Example:
A product label says to use 2 ounces per gallon of water. You find that you have 5,200 sq. ft. of treatment area. One gallon of solution will typically treat 1,000 sq. ft.
5,200 sq, ft. / 1,000 sq. ft. = 5.2 gallons of solution.
5.2 x 2 oz. per gallon = 10.4 oz. of product.
So you would need to mix 10.4 oz. of product in 5.2 gallons of water to treat 5,200 sq. ft.
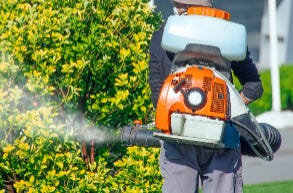
Prepare Your Product

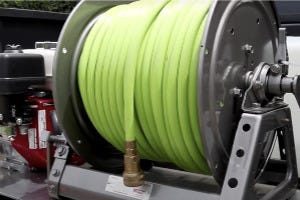
Some products, such as aerosols and granules, are ready-to-use and do not require mixing. To use liquid pesticides, you will need to mix the product with enough water to adequately treat the area.
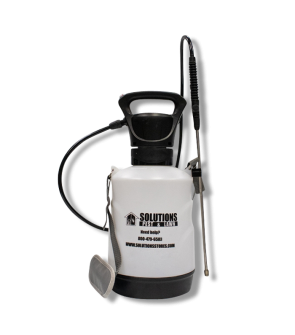
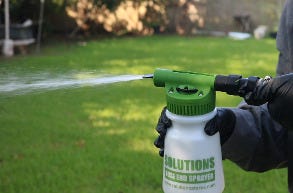
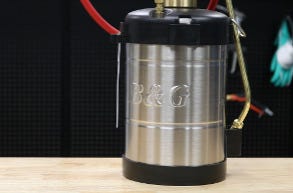
For general spray applications, one gallon of finished product will treat 1,000 to 1,500 square feet, depending on the target pest. For most general DIY pest control treatments, we recommend using a one gallon pump sprayer.
To thoroughly mix your pesticide in a gallon sprayer, pour half a gallon of water into your spray tank. Then add the measured amount of pesticide, followed by another half gallon of water. Shake well to mix for one finished gallon of product.
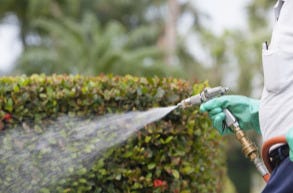
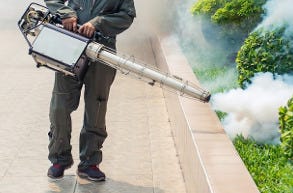
Apply to Desired Area

Before using your newly created solution, you will need to make sure that all people and pets are off or away from the treatment area. They can return to this area after the product has dried and after vapors have dispersed. For convenience, we recommend that you time your pesticide treatment for when the area will be vacated for several hours.
Be sure to check the product label for specific directions on how to apply the product. Some products require a specific spray setting or method of application.
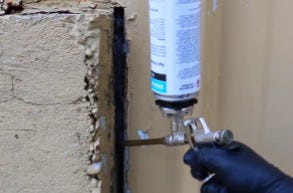
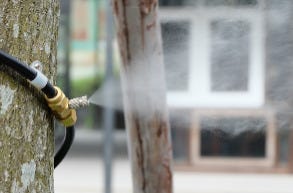
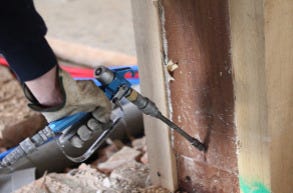
For most spray applications, spot spray around common entry points to the home or structure. This is usually around windows, doors, vents, eaves, or where pipes and wires penetrate the walls.
With most liquid concentrates, you can also create a pesticide barrier by applying a continuous band of product by spraying about three feet up the wall and about three feet out away from the wall.
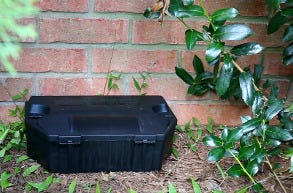
Some liquid pesticides are labeled to be used indoors to treat cracks and crevices, under or behind appliances, crevices around entry points, or along baseboards.
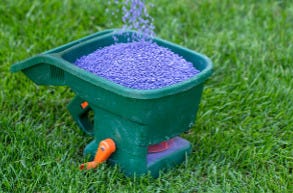
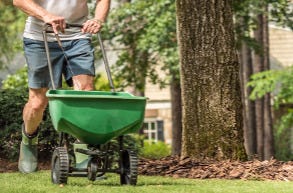
For granular pesticide applications, spread the product evenly over your desired treatment area. Most granulated pesticides require that the product be watered in to be most effective. Consult your product's label and water in if required.
Prevent Re-emergence

Once you have taken the time to apply pesticides, the last thing you want is another round of pests.
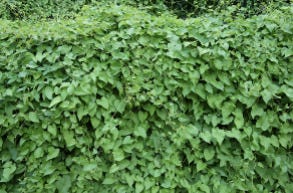
Regular maintenance of your property, such as keeping your area clean and properly disposing of trash, will prevent pests. Any potential high-moisture areas, such as under faucets, should be addressed regularly. Seal any cracks and crevices around your property with caulk. Yard debris should be removed and disposed of regularly.
Don't forget to do a repeat application of your pesticide every several months. Most residual products can be reapplied within a month or three months, but be sure to read the label for proper application timing.
Key Takeaways
You can do your own pest control with professional products safely, easily, and quickly. No matter what you are treating, always remember these steps:
- Read the Label: The label is the law and its instructions must be followed.
- Prepare Your Treatment Area: Clean, declutter, and remove anything that is is sensitive or may interfere with your treatment.
- Wear PPE: Always protect yourself by wearing personal protective equipment.
- Find Your Mix and Application Rates: Measure your treatment area and apply following label directions.
- Prepare Your Product: Mix liquid concentrates with water based on your targeted pest and treatment area.
- Apply Your Product: Apply the pesticide following label directions, focusing on where you have seen pest activity.
- Prevent Re-emergence: Be diligent about maintaining and sanitizing the property, and re-applying pesticides.
Solutions Pest & Lawn is a small family-owned business and the only direct-to-consumer pesticide manufacturer in the country. Because of this, we have the opportunity to offer the best prices on our products while cutting out the middleman. Your success is important to us, and it is our goal to offer high-quality products and knowledge to our customers.
If you have any questions or would like extra help, please give us a call or stop by one of our stores.